
The living room in my 1958 ranch should have been a slam dunk for mid-century vibes. Instead, when we moved in, it had the classic builder-grade shrug: a flat white ceiling, skimpy baseboards, a basic dome light, and walls so beige they felt like an apology. It worked, technically. It just did not sing.
This is the makeover I recommend when you want real mid-century character without gutting your house. We focused on three things that change the feeling of a room fast: anchoring furniture with vintage lines, upgrading lighting so it becomes a focal point, and adding a few architectural details that make a “newer” room feel intentional.
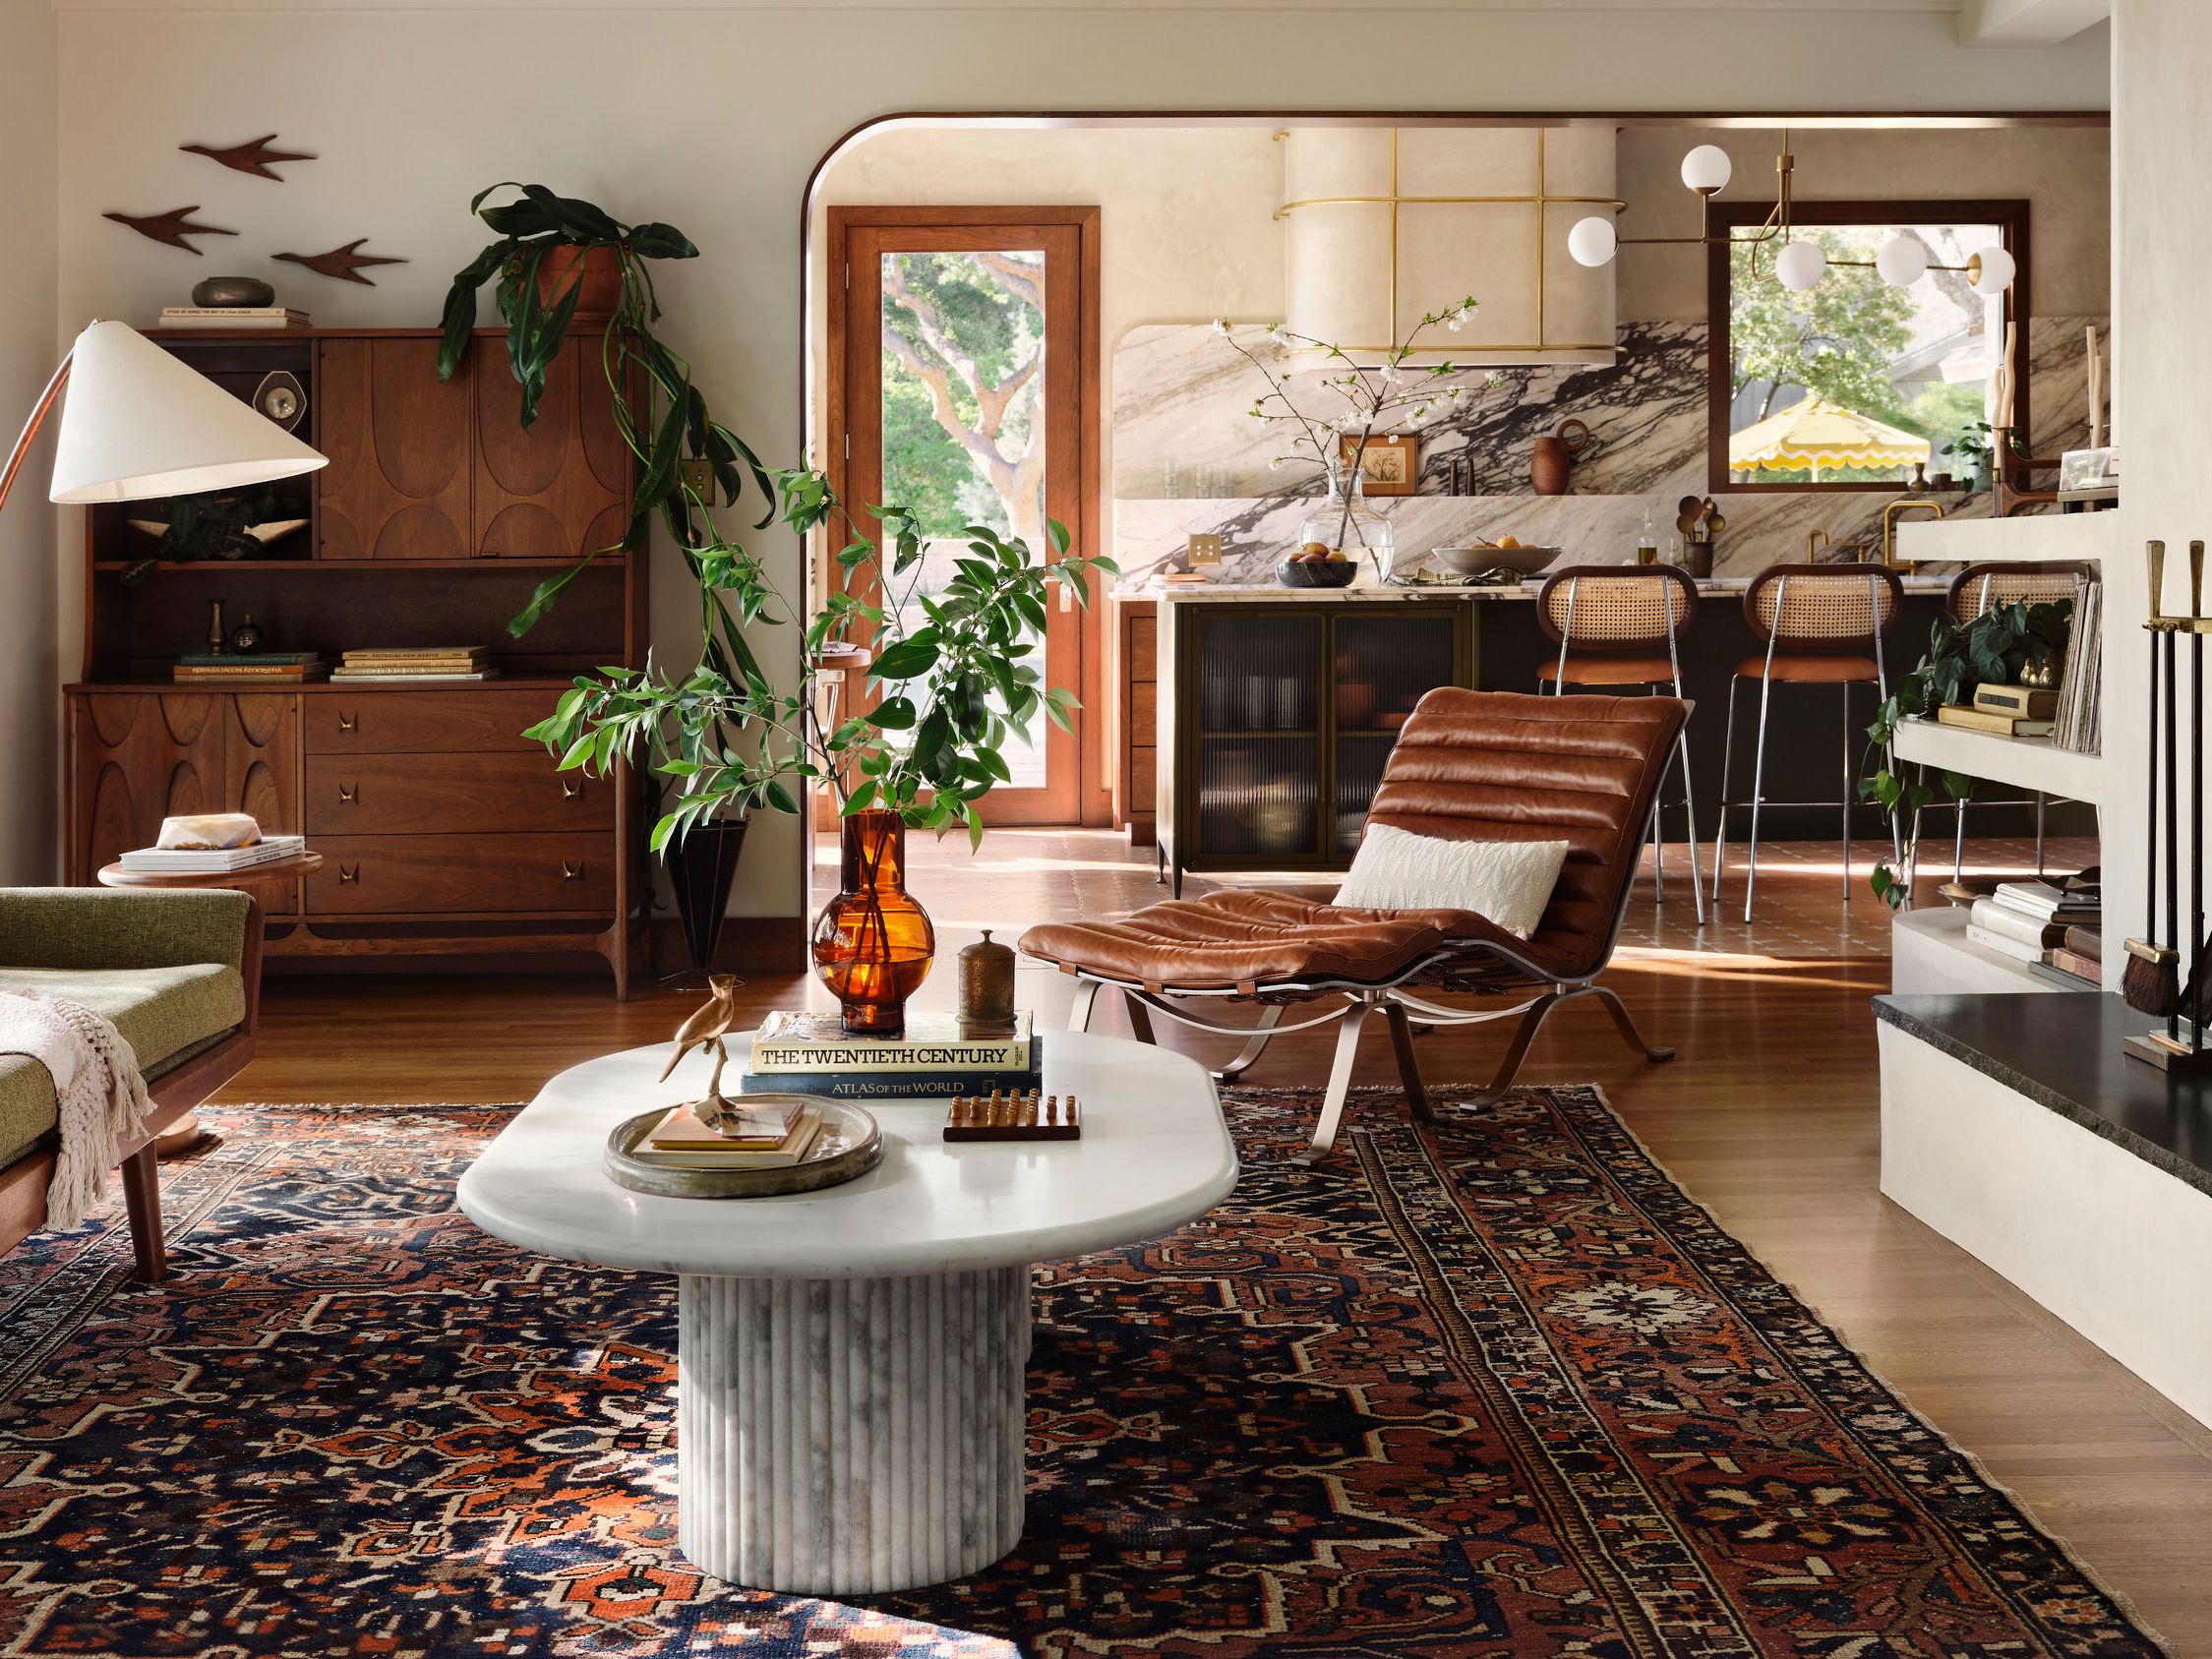
The Before
If you are staring at a perfectly fine living room and wondering why it still feels bland, it is usually a mix of these issues.
- No focal point. The eye needs a place to land, especially in open-plan layouts.
- Lighting that disappears. A flush-mount dome makes a room feel like a rental, even in a house you own.
- Underscaled trim. Narrow baseboards and plain door casings read “default setting.”
- One-note color. Builder beige can be warm, but it often has no depth or contrast.
- Furniture floating. When pieces do not relate to each other, the room feels temporary.
None of that requires a full remodel. It just needs a plan.
The After
Mid-century modern is not about stuffing a room with “retro stuff.” The magic is in proportion, materials, and a few bold, confident choices.
- Low, horizontal silhouettes (sofa, credenza, coffee table)
- Warm woods like walnut, teak, or oak
- One statement light that feels sculptural
- Layered texture (wool rug, nubby upholstery, linen drapes)
- Graphic shapes (art, rug pattern, accessories)
- Negative space so the room can breathe
If you want help dialing in color before you buy anything, I keep my palette decisions grounded in the same approach I use in our earth tones vs. jewel tones guide.
Step 1: Measure first
Before you hunt for furniture, measure. Mid-century pieces tend to be lower and longer, which changes clearances and the way you space things out. Think long runs, low profiles, and roomy pathways.
My quick measuring list
- Wall lengths and the distance between doorways
- Window width and height (and where the trim starts)
- Ideal rug size (so at least the front legs of seating sit on it)
- Sofa max length (leave walking space at edges)
- Ceiling height for lighting clearance
I also sketch a simple rectangle layout and mark pathways. Personally, I aim for about 30 to 36 inches where I can, especially in the main traffic lanes. It is not a law, it is just the difference between “squeezing through” and “gliding through.”
Step 2: Pick one anchor
Builder-grade rooms get overwhelmed fast when you add several small vintage items without a backbone. Pick one larger anchor, then support it with simpler pieces.
Best anchor options
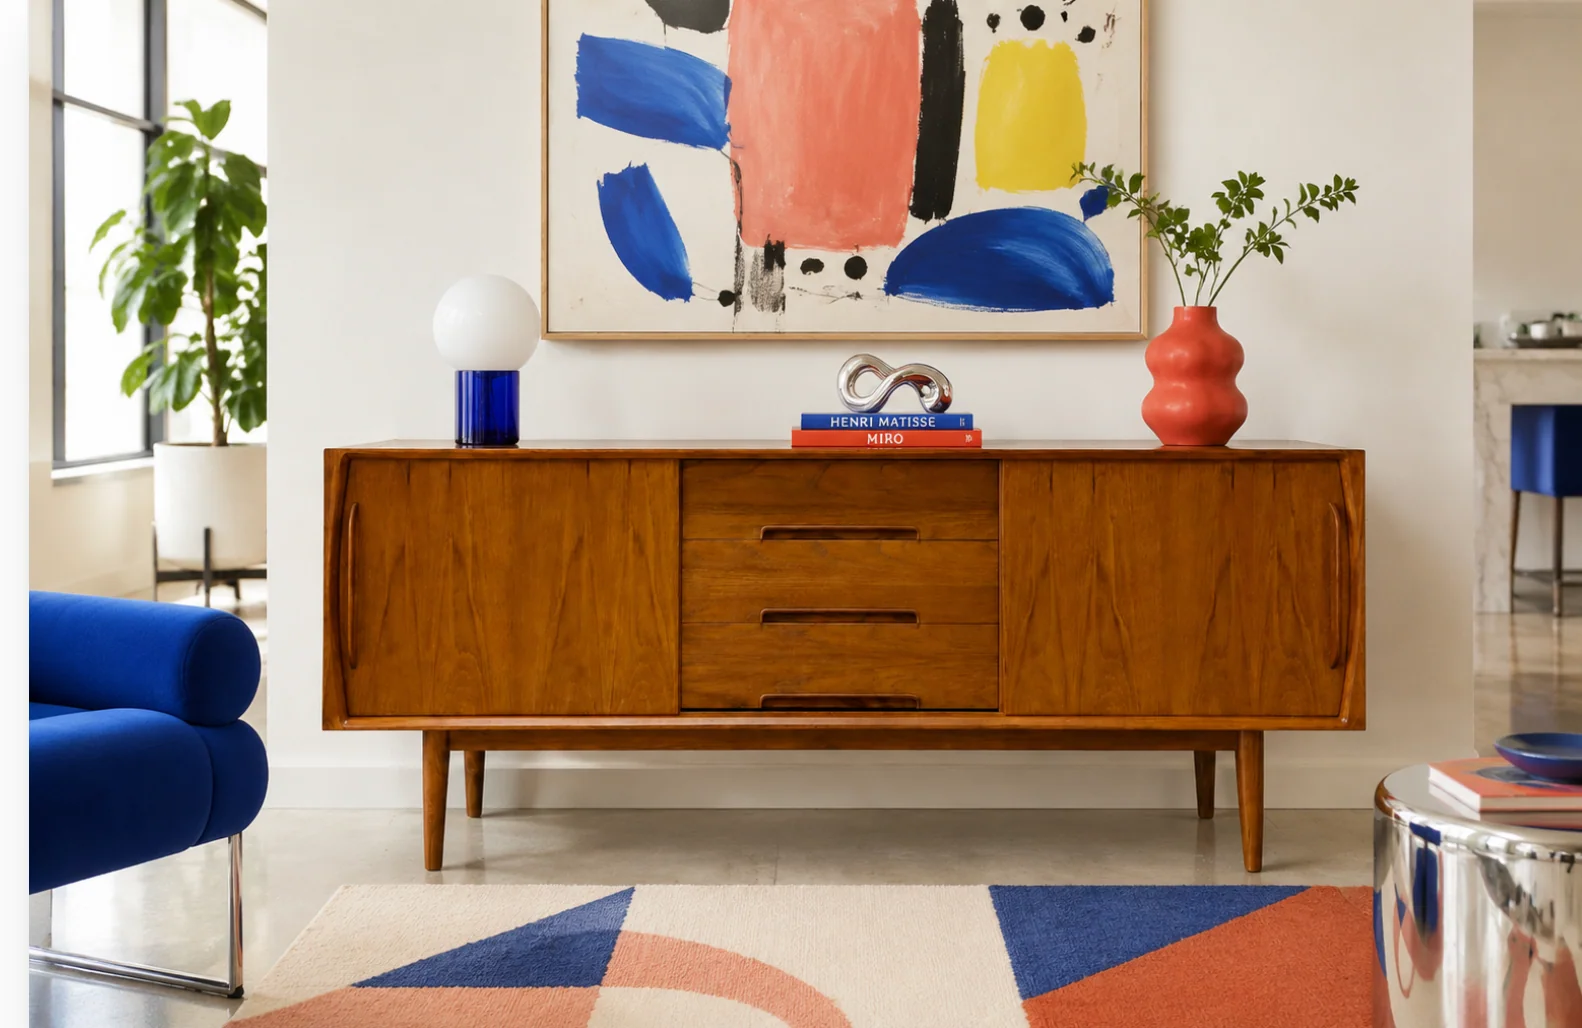
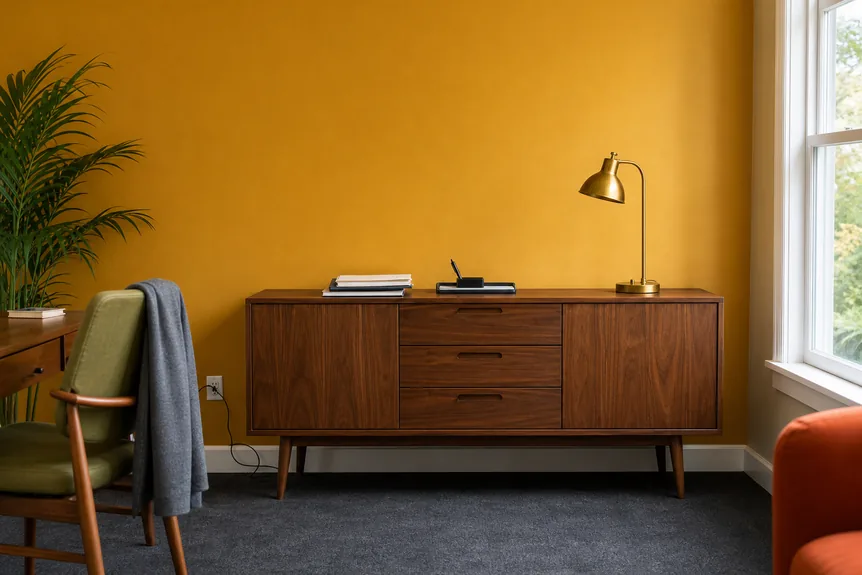
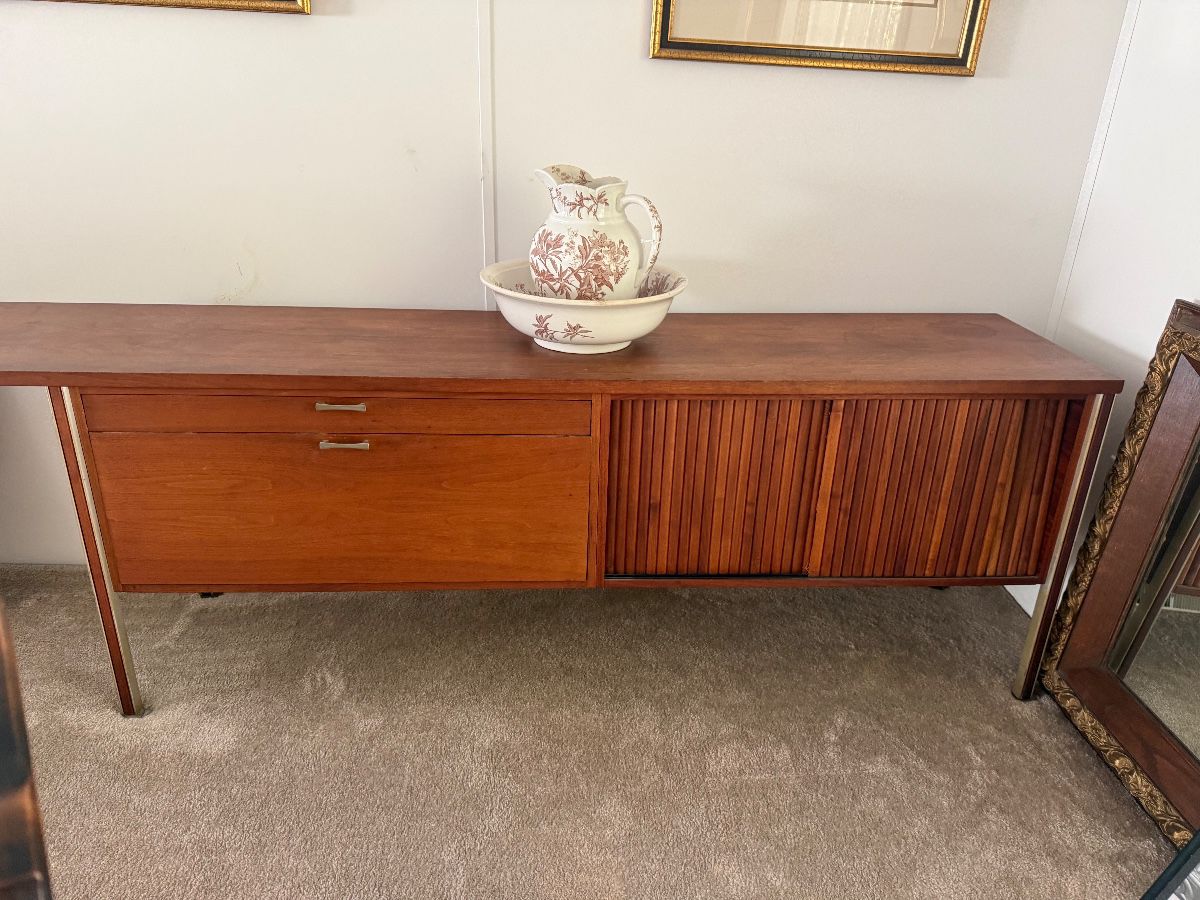
- Walnut or teak credenza (instant mid-century backbone)
- Vintage lounge chair with wood arms or a sculptural base
- Large vintage rug with a graphic pattern
In our makeover, the anchor was a long walnut credenza. It gave the room a horizontal “spine,” and everything else finally had something to orbit. If you want styling ideas once you find yours, this is exactly how I approach it in how to style a mid-century credenza.
If you are buying secondhand upholstered seating as your anchor, do yourself a favor and read what to check before buying vintage upholstered furniture before you hand over cash.
Step 3: Upgrade the light
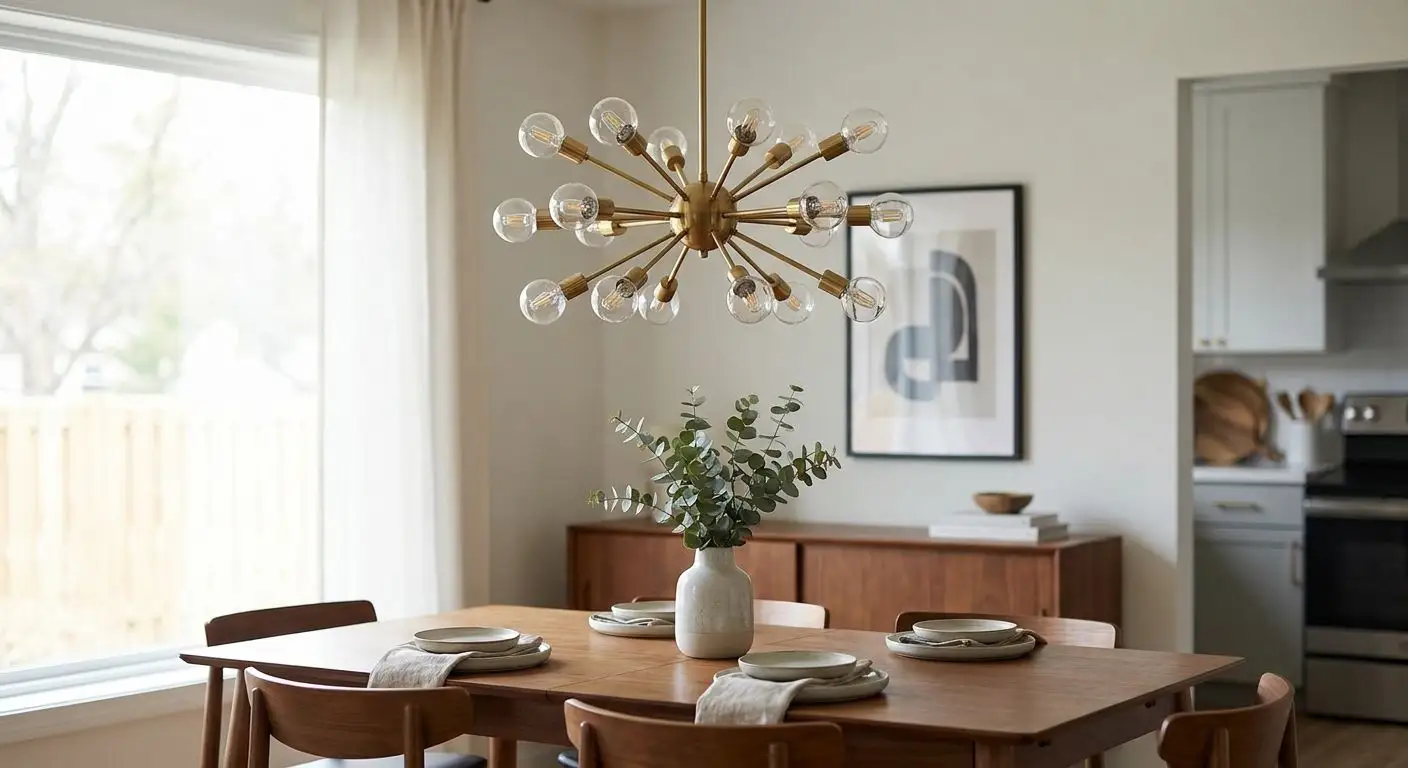
Lighting is the fastest way to erase the builder-grade vibe. When I swapped our basic ceiling fixture for a mid-century-inspired statement light, the whole room felt designed, even before we touched the walls.
What to look for
- Bold shape: sputnik arms, globe clusters, or a sculptural drum shade
- Warm metals: aged brass, antique nickel, bronze, or a soft brushed nickel that is not chrome-bright
- Soft bulbs: warm white that flatters wood tones
Quick reality check, especially in an older house: if your wiring is questionable, your ceiling box is loose, or your fixture is heavy, it is worth hiring an electrician. The “statement” part is not as fun if it comes with flickering lights or a ceiling repair.
If you love mixing metals but fear it will look accidental, use one metal as the “lead” and another as an accent. I break this down in mixing brass, copper, and chrome in mid-century modern style.
Step 4: Add simple trim
If your room feels like it came from a big-box catalog, it probably did. The antidote is a little architecture. You do not need to add beams or rebuild walls to get character.
My favorite weekend upgrades
- Taller baseboards: even moving from 3 inches to 5 inches changes the room’s posture
- Window casing upgrade: thicker trim makes windows feel substantial
- Picture ledge or shallow shelf: great for rotating art and ceramics
- Simple slat detail: a small slatted panel behind the credenza reads custom
In our living room, we upgraded baseboards and added a slim picture ledge above the sofa. It gave us a place to layer art without committing to a million nail holes.
One more older-home note: if you are sanding old trim or patching walls in a mid-century house, treat the dust like it matters. If you suspect older paint layers, use lead-safe practices and do not dry-sand without a plan.
Step 5: Paint for warmth
Mid-century rooms look best when the background is calm and the shapes and materials do the talking. I like a warm white or a soft putty tone with enough depth to keep walnut from looking orange.
A simple paint strategy
- Walls: warm neutral (creamy white, light greige, soft clay)
- Trim: same color as walls in a different sheen, or a slightly cleaner white
- Contrast: bring it in with art, textiles, and one darker wood moment
If you want a bolder direction, choose one saturated accent color and repeat it three times: once in art, once in a textile, and once in a small object. That repetition is what makes “bold” feel intentional.
Step 6: Get the rug right
Nothing makes a room feel more builder-grade than a rug that looks like a bathmat floating in the middle of the floor. Size is style.
My rug rules
- At minimum, the front legs of the sofa and chairs should sit on the rug.
- If you have space, aim for all seating legs on the rug for a lounge-like feel.
- Choose a pattern with clear geometry or subtle texture that nods retro.
A good rug also makes thrifted furniture feel more elevated. It is the unglamorous hero of most “after” photos.
Step 7: Style with restraint
This is the part I love most. Mid-century spaces feel personal when you mix eras and finishes, then edit.
My go-to layers
- Art: one oversized piece or a tight cluster, not scattered singles
- Ceramics and glass: a few bold shapes on the credenza, not a crowd
- Books: small stacks to add height variation
- Greenery: one larger plant beats five tiny ones
If you collect vintage ceramics or art glass, the trick is to group by color or shape so it looks curated. I share my favorite spotting tips in thrifting mid-century ceramics and art glass.
Budget priorities
You can do this makeover on almost any budget if you decide what deserves your dollars. I tend to spend where the room feels it every single day, then keep the supporting cast simple.
| Upgrade | Why it matters | Typical range | Budget-friendly approach |
|---|---|---|---|
| Statement ceiling light | Sets the era and mood immediately | $150 to $600 | Choose a modern reproduction and spend on warm bulbs |
| Anchor piece (credenza or sofa) | Defines the room’s silhouette | $300 to $2,000+ | Buy one solid vintage piece, keep other items simple |
| Rug | Unifies seating and adds pattern | $250 to $1,200+ | Go larger in a durable material, even if the pattern is subtle |
| Trim upgrades | Adds “custom” character | $100 to $700 | Do one area first, like baseboards in the living room only |
| Paint | Warms the background | $60 to $250 | Paint is the cheapest high-impact change, do it yourself |
Those are ballparks, not a promise. The real swing factor is your market and how patient you are about sourcing. I have paid “steal” prices at estate sales and also watched the same category of piece get listed online for triple.
Sourcing shortcuts
My favorite finds still come from estate sales and local spots where mid-century pieces show up quietly, not as “vintage curated” with a boutique markup.
- Start with estate sales for mid-century decor if you want the best chance at cohesive sets.
- Use my field-tested haggling tips for flea markets when prices are optimistic.
- If you are buying wood furniture, read structural red flags to avoid so you do not bring home a wobbly heartbreak.
- For online hunting, these Facebook Marketplace search terms help you find listings that are not tagged “MCM.”
Common mistakes
- Too many small decor items. Mid-century styling loves negative space.
- All legs, no weight. If every piece is thin and airy, the room feels flimsy. Add one grounded piece like a credenza.
- Cold lighting. Cool bulbs can make walnut look gray. Warm bulbs are everything.
- Matching sets. A living room set from one store reads showroom, not collected.
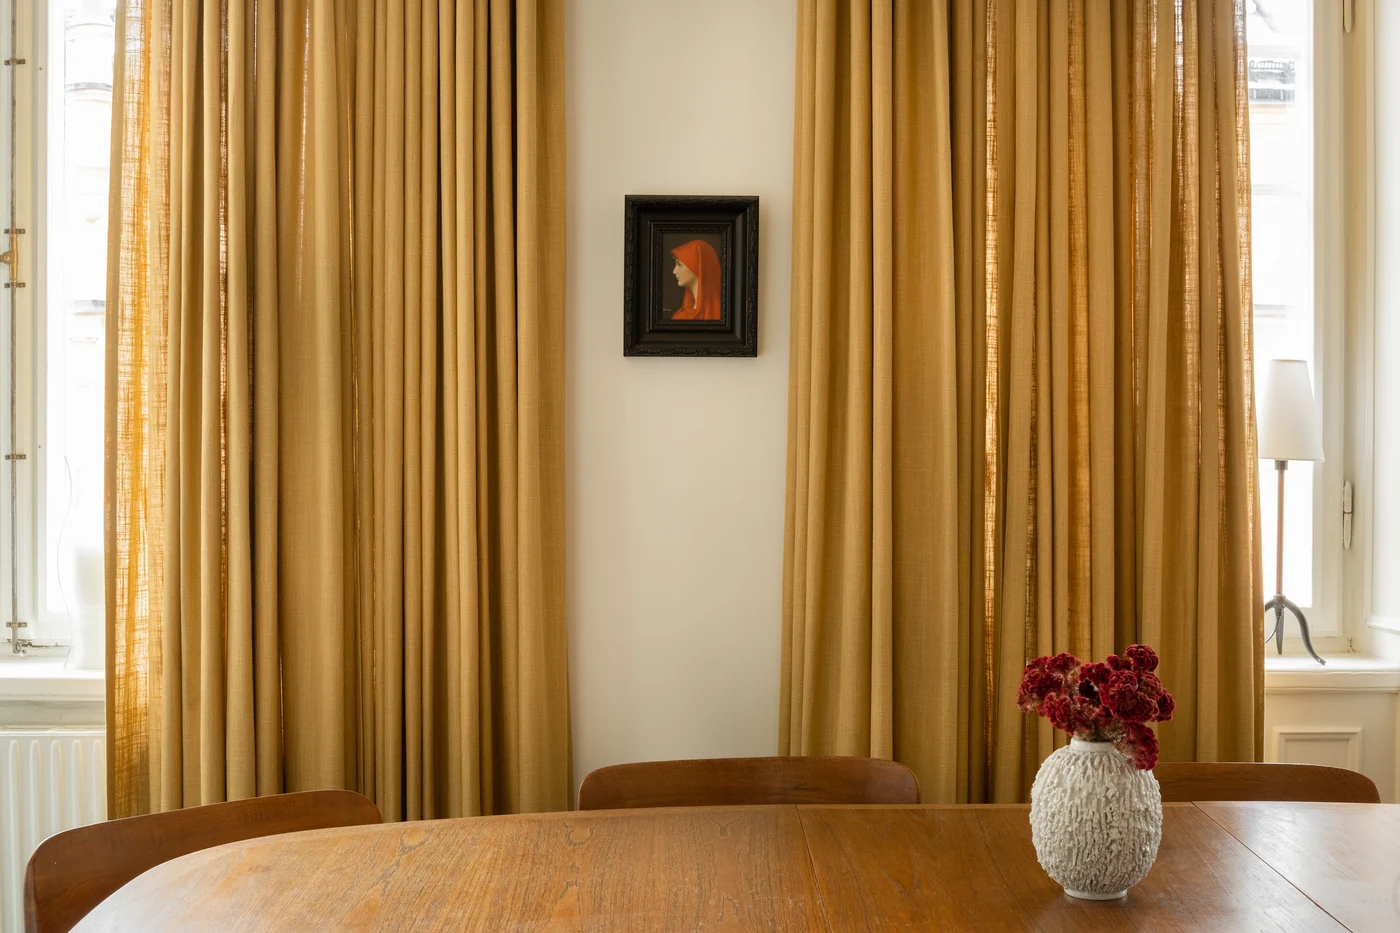
- Ignoring the windows. Updated treatments make the whole room feel finished. If you need ideas, see mid-century modern window treatments.
My timeline
- Plan layout and measure.
- Pick the anchor piece.
- Upgrade the ceiling light.
- Paint.
- Rug and seating placement.
- Trim or small architectural add-ons.
- Art and styling layers.
If you are moving heavy vintage pieces around, protect yourself and your floors. I wrote up my best real-life tips in how to safely move thrifted mid-century modern furniture.
The real after
The funniest part of this makeover is that none of the changes were shocking on their own. No wall got knocked down. No custom millwork budget. But together, the room stopped feeling like a generic box and started feeling like the kind of space where you want to put a record on, kick your shoes off, and stay awhile.
That is the mid-century promise I keep coming back to, even a decade into thrifting: warm materials, honest shapes, and a home that feels lived-in in the very best way.
If you want more tours and step-by-step makeovers like this, browse the rest of Room Makeovers & Tours.