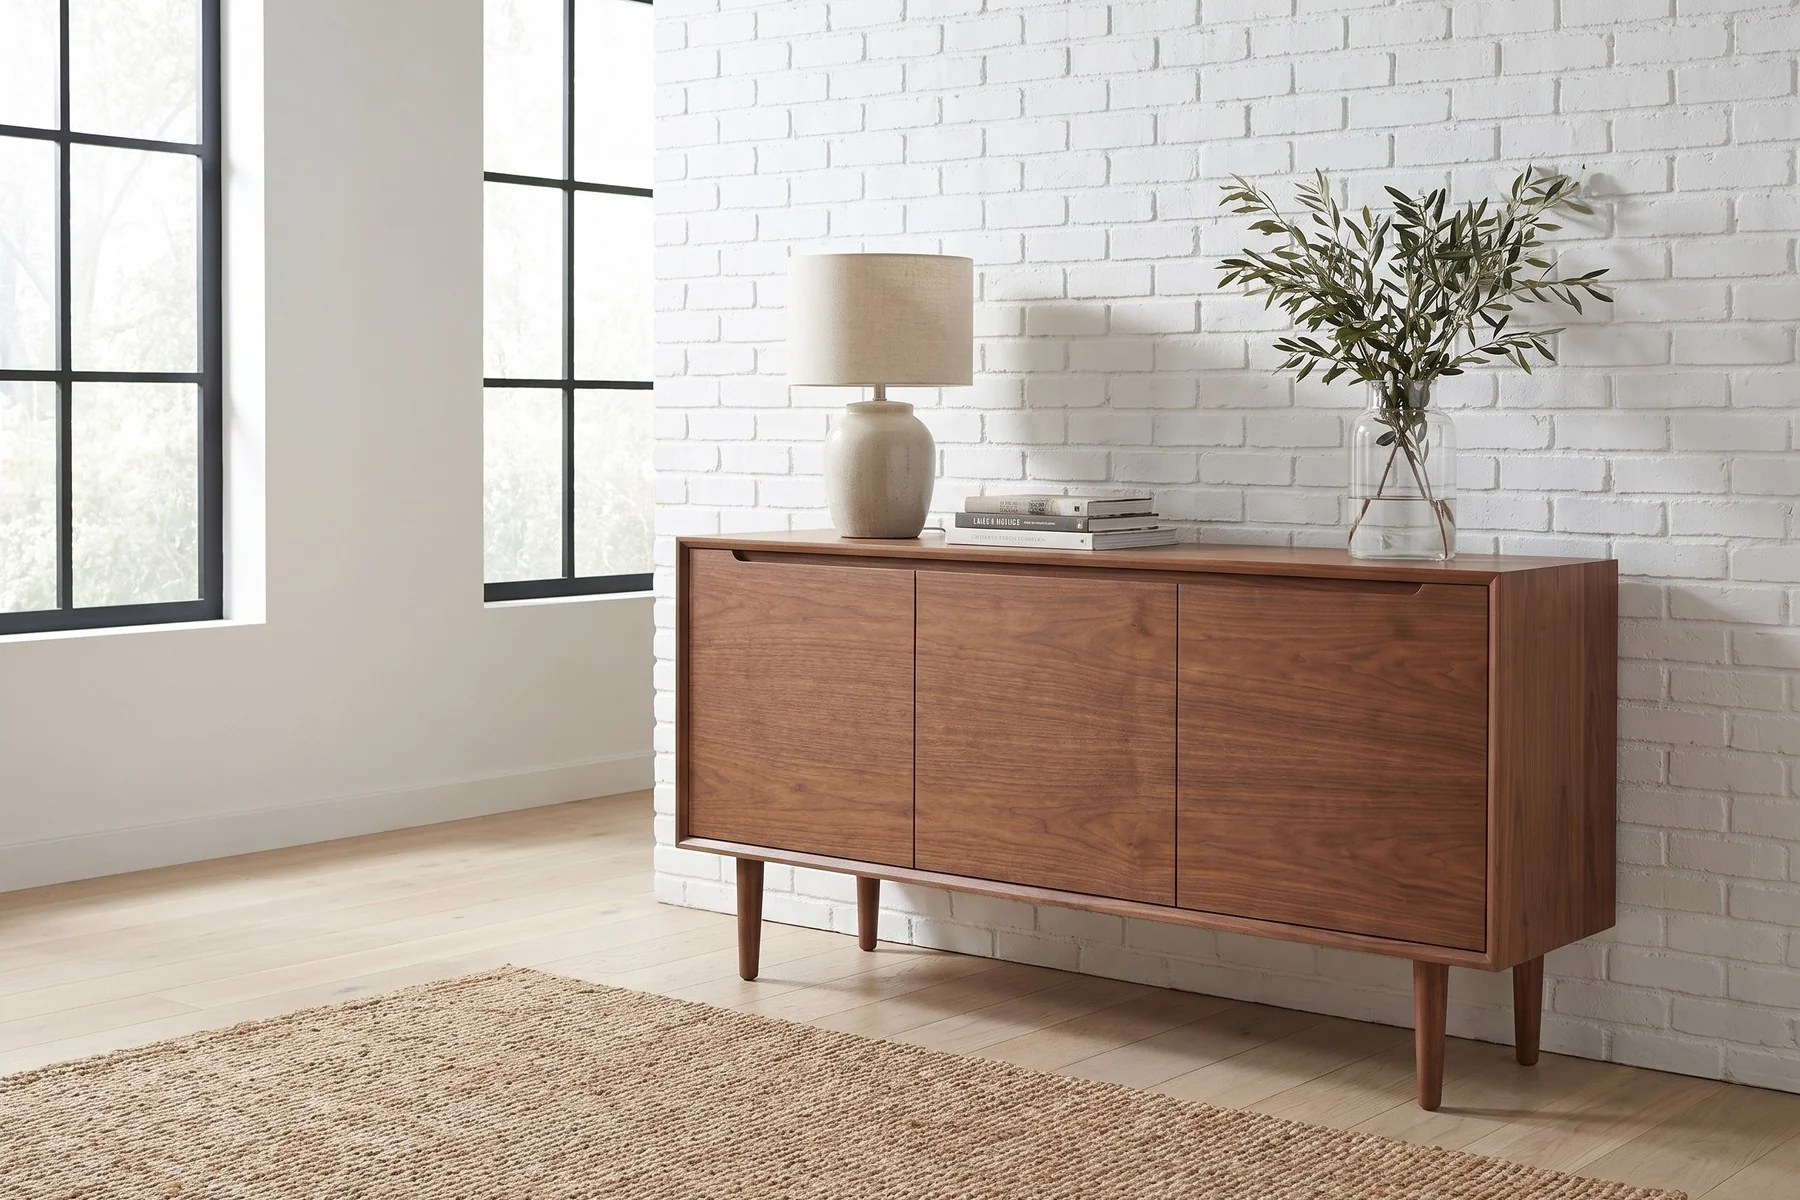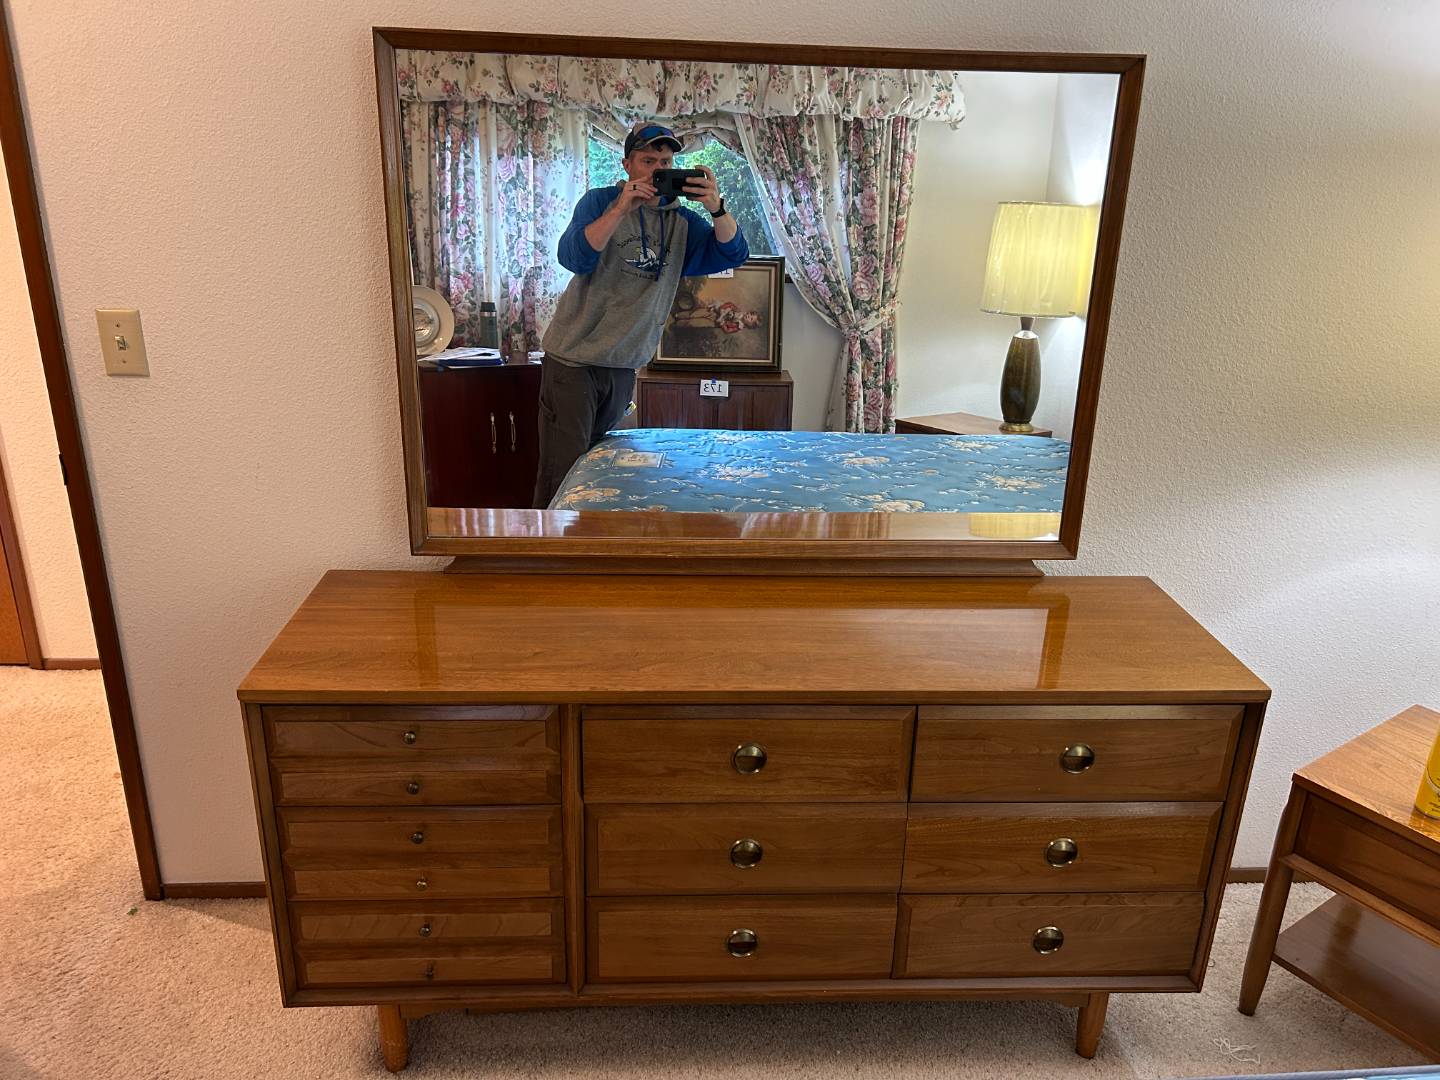

The fastest way to turn a dreamy thrift score into a heartbreak story is a rushed car-load in a parking lot. I learned this the hard way with a walnut side table that looked perfect under fluorescent lights, then arrived home with a spiderweb of new veneer chips along one edge. Mid-century modern pieces were built to live beautifully, not necessarily to be bounced around in a hatchback with a bag of groceries.
The good news is you do not need professional movers or a box truck every time. You just need a simple system: stabilize the fragile parts, pad what rubs, and tie down like you mean it. Here is how I safely transport delicate finds like glass-top tables, spindly-legged credenzas, and anything with vintage veneer.
Before you buy: measure and plan
When you are standing in a thrift store aisle or at an estate sale, your brain is already decorating. Take one minute to switch into moving mode.
- Measure the piece (width, height, depth) and measure your vehicle opening, not just the cargo area.
- Check for weak points: tapered legs, loose stretchers, wobbly joints, lifting veneer, cracked glass, or fragile hardware.
- Decide how it rides: upright, on its side, or flat. There is no one best answer. Choose the position that puts the least stress on legs, joints, and protruding hardware.
- Ask about disassembly. If the seller will allow it, removing legs, shelves, or loose parts can save a piece.
If you are still learning what to check before committing, my checklist for inspecting soft goods is here: Buying Vintage Mid-Century Upholstered Furniture: What to Check.
Your trunk kit: small supplies
I keep a “mid-century rescue kit” in my car. It is not fancy, but it has saved more than one delicate find.
- Moving blankets (2 to 4)
- Stretch wrap (the wide kind movers use)
- Painters tape (blue or green, lower tack than packing tape)
- Cardboard sheets (broken-down boxes are perfect)
- Corner protectors (foam or cardboard)
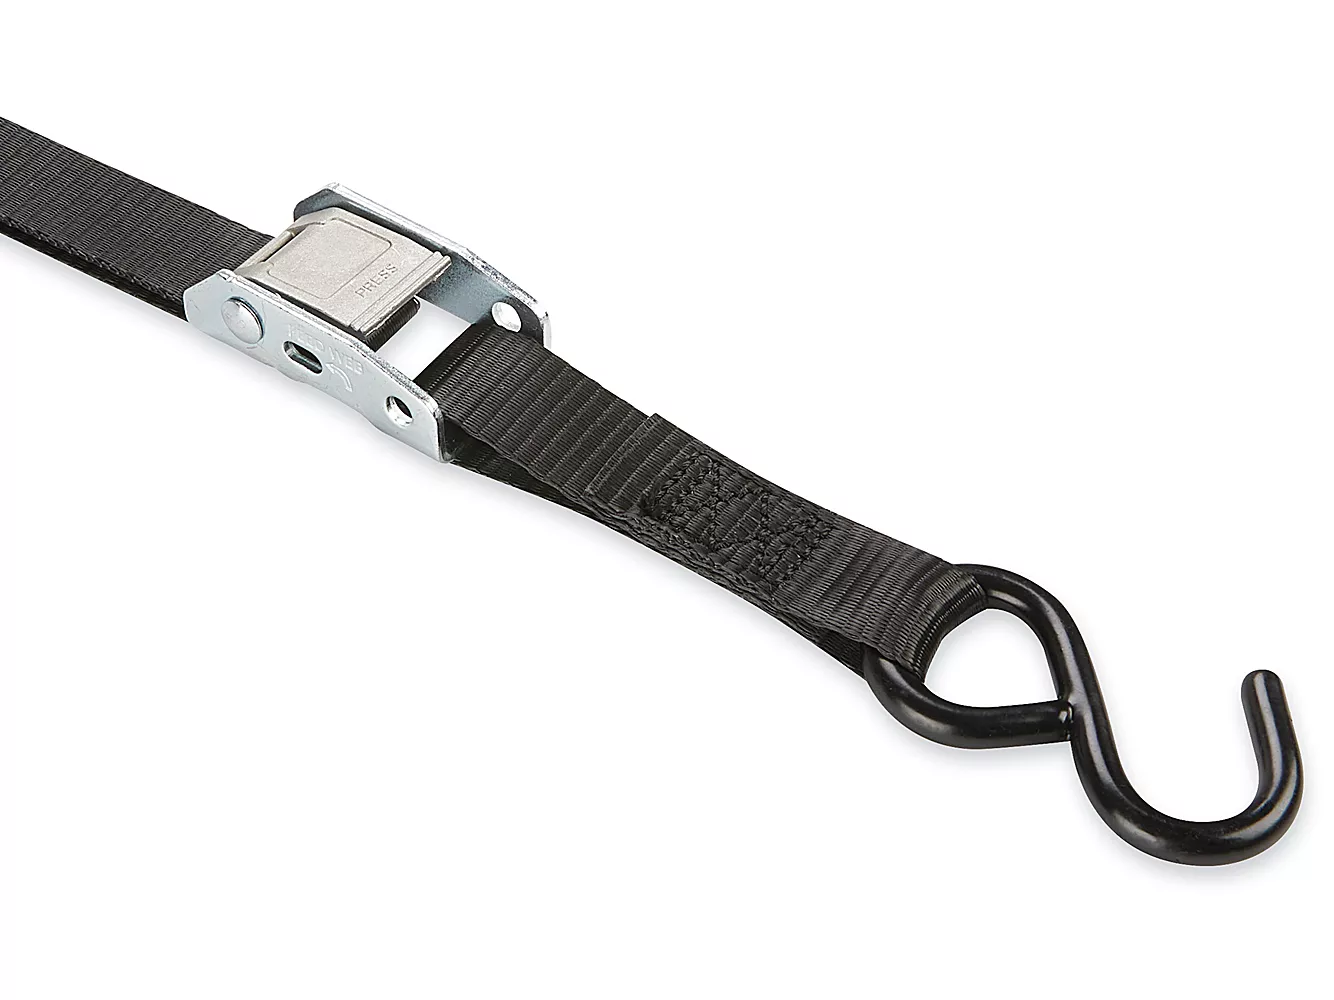
- Ratchet straps or cam buckle straps (at least two)
- A small screwdriver set and a zip bag for screws
- Old towels for quick padding and filling gaps
- Nonslip shelf liner to keep items from skating in the cargo area
- Clean sheet (for upholstery, mirrors, and glossy lacquer)
One gentle rule: avoid duct tape directly on vintage finishes. Even if it seems fine in the moment, adhesive and old lacquer do not always stay friends.
Strap safety note: ratchet straps can go from “secure” to “crushed corner” fast. On fragile pieces, I prefer cam straps when I can, and I always pad under buckles.
Handle gently
Lift from the structure
Those tapered legs and sculpted pulls are the first things to snap. When lifting:
- Do not lift by legs, arms, or drawer pulls.
- Lift from the frame or the underside apron, with hands placed close to corners.
- Keep it supported and stable while you reposition. Avoid tipping and twisting, especially on long case pieces.
Do the wiggle test
Gently rock the piece. If anything shifts, squeaks, or flexes, treat it as fragile even if it looks sturdy. Mid-century joints can be strong, but glue can dry out over decades.
Disassemble when it is obvious
Some mid-century pieces were designed to come apart for shipping, especially certain tables, modular systems, and knock-down designs. But plenty of vintage furniture is glued, doweled, or permanently fixed. My rule is simple: if you do not see obvious bolts, plates, or screws, do not force it.
- Remove table legs when you can, especially for dining tables and coffee tables.
- Remove shelves and loose interior parts from cabinets and credenzas.
- Secure doors and drawers (more on that below) or remove them if they are sliding around.
- Bag and label hardware immediately. I use a zip bag and painters tape: “Left front leg screws” is enough.
If you are unsure what you have, learning to identify makers and construction details can help you predict what is safe to remove. This guide is a favorite: Mid-Century Maker Marks, Tags, Stamps, and Serial Numbers.
Protect finishes: veneer and lacquer
Vintage finishes are usually tougher than people think, but they hate abrasion. Most transport damage is not a dramatic drop. It is rubbing, sliding, and pressure points.
Rule 1: hard layer, then soft layer
If something could dent or scratch, add a hard barrier first (cardboard), then add a soft cushion (blanket). A blanket alone can sometimes “print” texture into a softer finish when straps are tight or the car is hot.
Rule 2: keep stretch wrap off wood
Stretch wrap is great for holding blankets in place, but I try to wrap around the blanket, not directly around finished wood. On a hot day, plastic against older finishes can stick.
Rule 3: corners take the hit
Put corner protectors or folded cardboard on edges before strapping. Most veneer chips happen on corners when a piece bumps a door frame or shifts during a turn.
Watch metal parts
If your piece has hairpin legs, metal stretcher bars, or chrome edges, pad anywhere metal can rub wood. Metal on wood during a drive is a scuff waiting to happen.
Glass-top tables
Glass is unforgiving, and mid-century glass tops are often custom sized. If it breaks, replacing it can be expensive and rarely matches perfectly.
Safety basics: treat the glass as if you do not know whether it is tempered. Wear gloves if you have them, and protect the edges. The edge is where glass is most likely to chip or fail if it takes a hit.
If the glass comes off, remove it
- Lift straight up with two people if possible.
- Do not stack glass flat with other items on top.
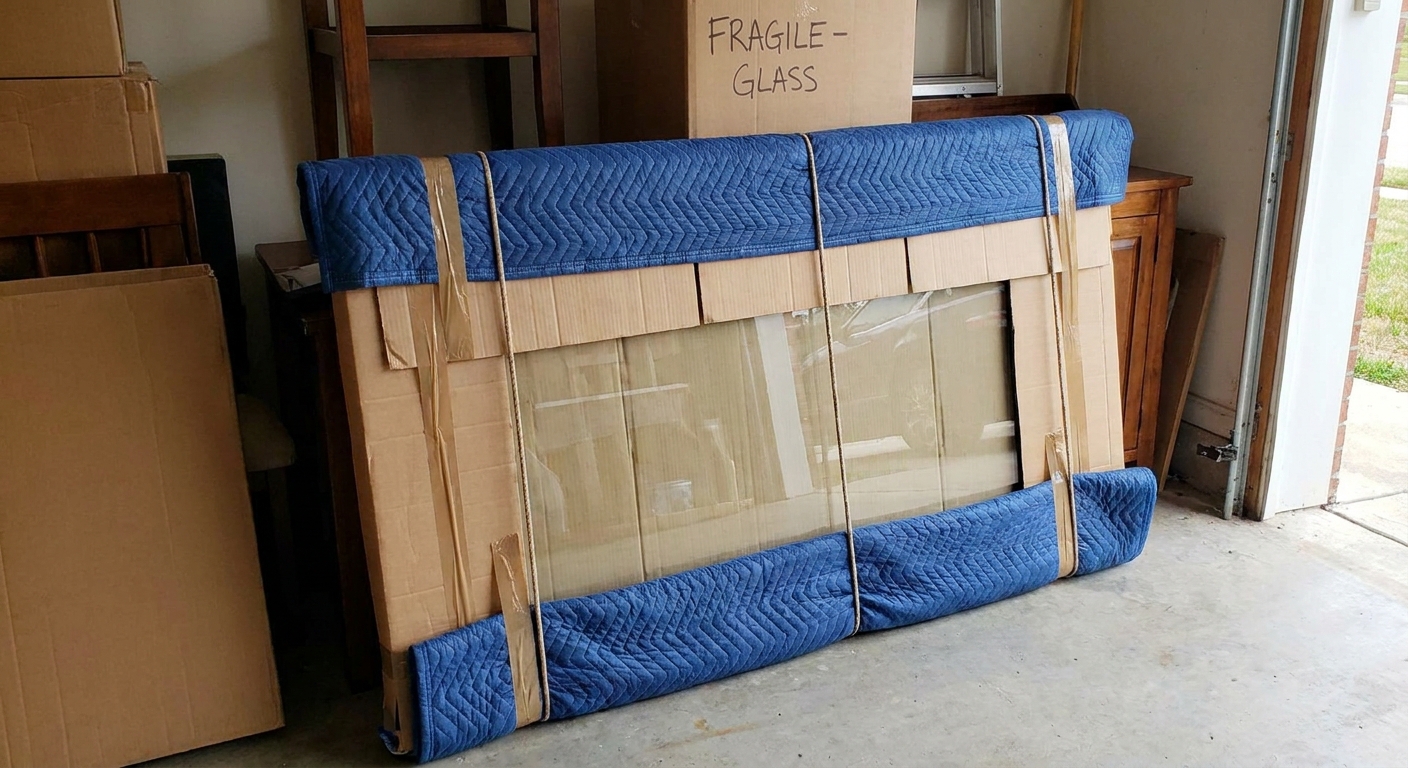
- Wrap in a hard layer: cardboard on both sides, taped together like a sandwich.
- Then wrap in a blanket and secure with tape around the blanket, not on the glass.
- Keep straps and buckles away from the glass. A metal buckle tapping the edge is a nightmare scenario.
Upright or flat depends on support
Glass can be safer on its edge only if it is rigidly supported, padded, and strapped so it cannot tip or flex. If you cannot immobilize it upright, laying it flat on a fully supported, padded surface can be safer. The goal is the same either way: no bending, no pressure points, and no sliding.
If the glass does not come off
Pad the entire top with cardboard and a blanket, then keep pressure off it. That means no heavy boxes on top and no straps tightened across the center of the glass.
Credenzas and lowboys
Mid-century credenzas are my weakness. They are also one of the easiest pieces to damage because they are long, heavy, and often supported by slim legs.
Do not drag by the legs
If you must reposition it, lift the body slightly and shuffle with a helper. Those legs can torque and loosen with one bad sideways tug.
Secure doors and drawers
- Remove drawers and transport them separately if they slide easily.
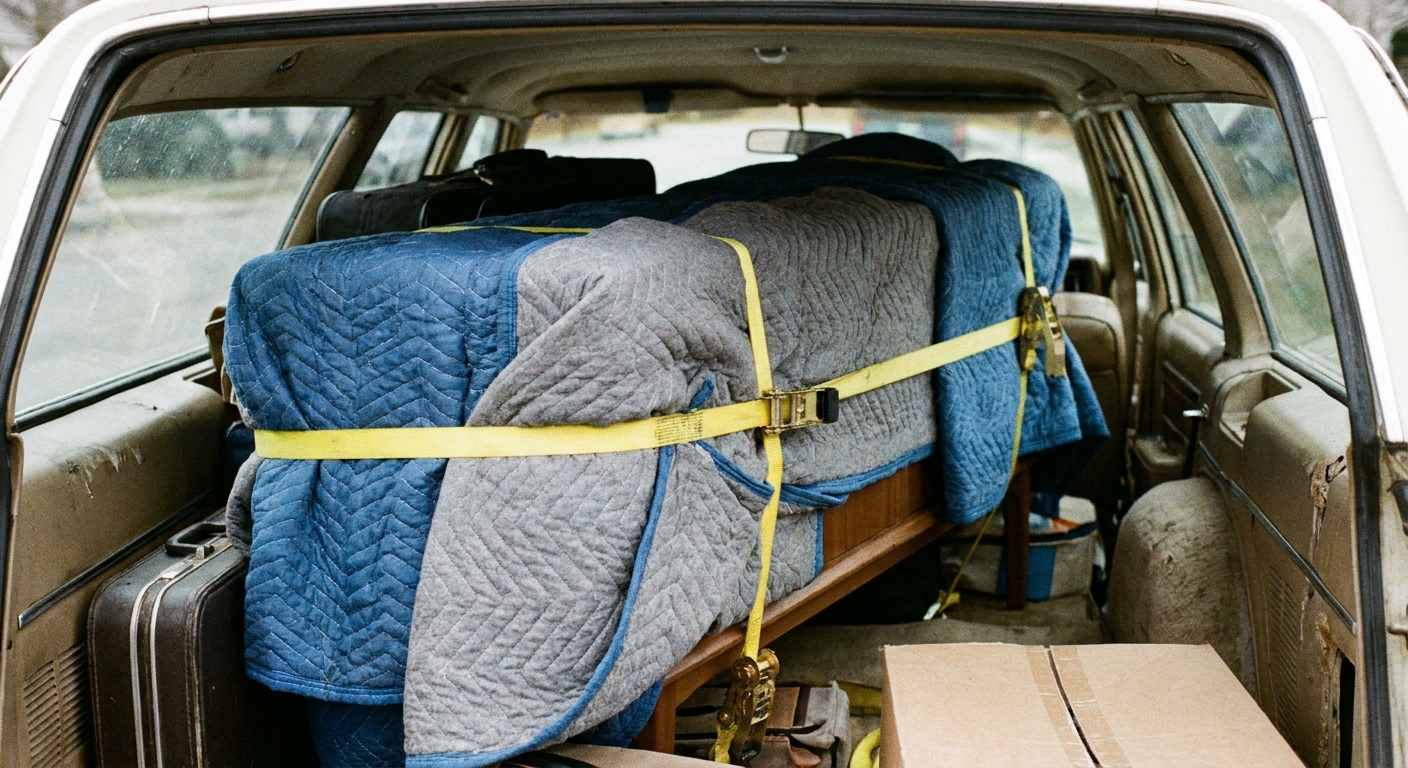
- If drawers stay in, place a folded towel between drawer fronts and the frame if there is any rattle, then wrap the whole case with a blanket and stretch wrap.
- For doors, close them, pad the front, then wrap. Painters tape can help hold a door shut, but put tape on a blanket or a small piece of paper first so adhesive never touches the finish.
Choose upright or flat based on the legs
Many credenzas ride well upright on a flat, padded surface. But if the legs are especially delicate or already loose, it can be safer to remove the legs (if they are clearly bolted on) and transport the case carefully on its back or side with generous padding and no weight on protruding hardware. I decide based on what looks most likely to flex in transit.
Once you get it home, styling is the fun part. If you need ideas for making a vintage case piece look intentional and not cluttered, visit How to Style a Mid-Century Credenza With Vintage Decor.
Upholstery
Vintage upholstery picks up odors and grime fast in transit. The goal is to protect it from parking lot dust, rain surprises, and dye transfer.
- Cover with a clean sheet under a moving blanket to avoid lint and color transfer.
- Avoid plastic directly on fabric for long drives. It can trap moisture and create that sour smell.
- Do not strap across cushions hard enough to crease foam or batting.
- Keep it out of wet truck beds. Even “dry” beds hold water in seams and grooves.
Mirrors and large frames
Big mirrors, framed art, and shadow boxes deserve their own tiny set of rules.
- Transport upright, never face-down under a stack.
- Protect the corners with cardboard and a blanket.
- Keep it from flexing by strapping it to a rigid surface, like the back of a folded seat, with padding between.
Loading and tie-down basics
Even a perfectly wrapped piece can be damaged by one sharp turn if it is not anchored.
Load heavy first
- Heavy and flat goes closest to the seat backs.
- Lighter items can fill in around it, but nothing hard should press into a delicate edge.
Create a no-slide base
A moving blanket or nonslip liner under the piece reduces skating. In vans and SUVs, I also wedge rolled towels in gaps so the furniture cannot shift.
Strap to the vehicle
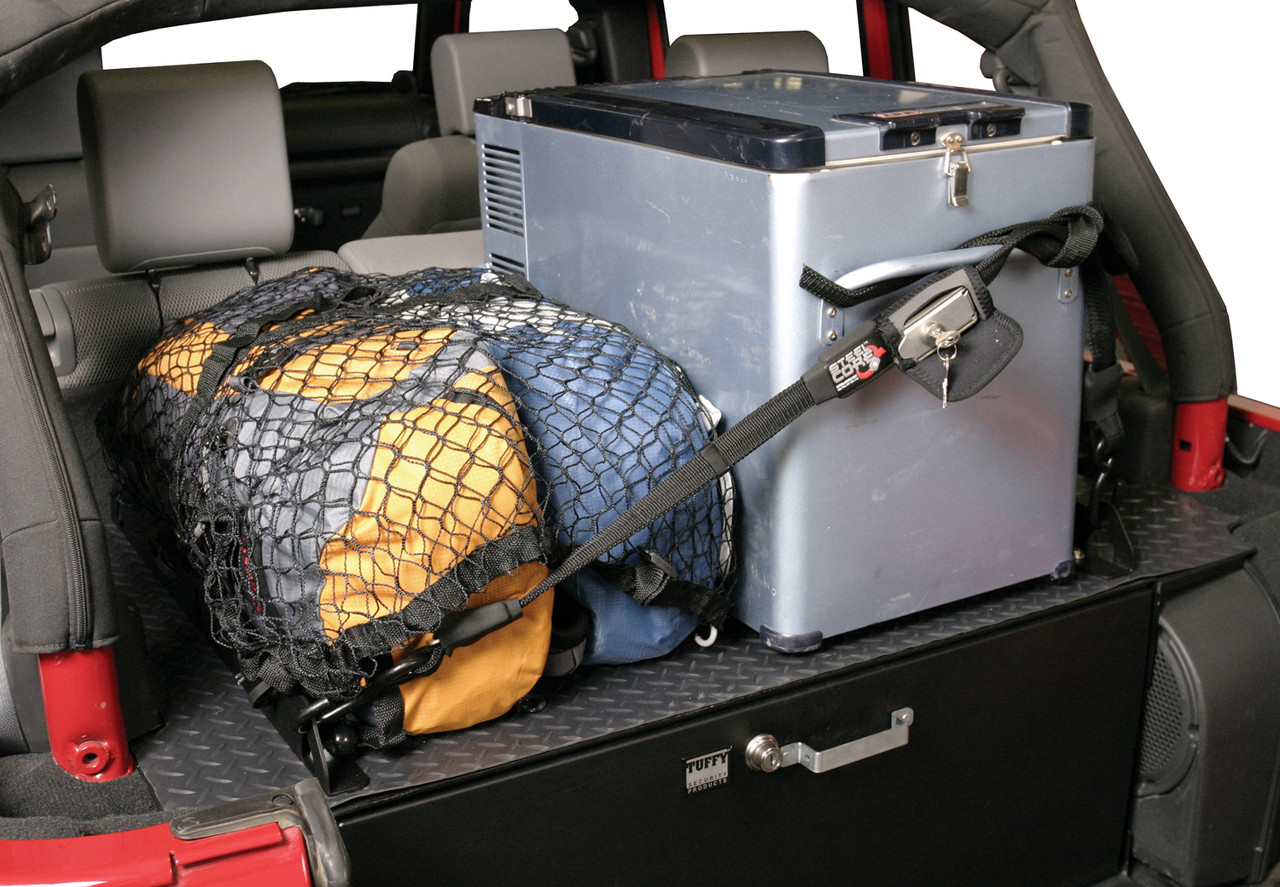
Use tie-down points when you have them. If you do not, loop straps around fixed seat frames. I avoid strapping one piece to another because it can transmit movement and cause abrasion where they touch.
Pad under straps and buckles
Straps can burnish or dent wood. Always pad under the strap where it touches the piece, ideally with folded cardboard and a blanket. Position buckles where they cannot bang into wood or glass if the strap loosens a hair.
If it is raining
Rain is when good intentions get rushed. If the weather turns:
- Use blankets as the first layer, then add plastic as an outer layer if needed.
- Do not trap moisture against wood or upholstery longer than you have to. Unwrap as soon as you are inside, and let the piece air out.
- Wipe metal hardware when you get home so you do not invite rust.
When you get home
After a drive, especially in heat or cold, vintage materials can shift slightly. I like to bring a piece inside and give it a little time before tightening screws or applying any product.
- Acclimate for a few hours if it came from a garage, shed, or cold truck.
- Unwrap carefully and check corners first.
- Save the photos you took before disassembly. Future-you will be grateful.
Quick troubleshooting
A drawer will not open
Humidity and small shifts can change fit. Remove the piece from straps and blankets, set it level, and try again. If it is still stuck, check that the case is not twisted from being strapped too tightly.
New scuffs on veneer edges
Most light scuffs are surface marks from rubbing against cardboard or a door frame. Do not sand immediately. Clean gently first and reassess in daylight. Veneer is thin and easy to burn through.
Wobble that was not there before
Check legs and corner blocks. If the wobble came from torque during lifting, the fix is often tightening hardware or addressing a loose joint. Transport is when shaky joints announce themselves.
A simple mantra
Mid-century furniture is wonderfully livable, but it wants you to move it slowly: stabilize, pad, anchor.
If you are building your thrift routine and want more strategies for finding and bringing pieces home safely, browse Vintage Hunting & Thrifting. And if your next score is coming from a weekend sale, this guide pairs perfectly with today’s topic: Estate Sales for Mid-Century Modern Decor.