
I can spot a good thrift-store lamp from the end of an aisle. It is usually half-hidden behind a stack of wicker baskets, wearing a shade that has seen things, with a weighty ceramic base that feels like it came straight out of a 1950s ranch house. And that is the point. When you pair a vintage lamp base with a properly retro fiberglass shade, the whole room gets that soft, honeyed glow that makes mid-century spaces feel lived-in, not staged.
This is my go-to method for hunting down thrifted ceramic table lamps and outfitting them with fiberglass shades that look right for the era, plus the safety checks I never skip before I plug anything in.
Why fiberglass shades look authentic
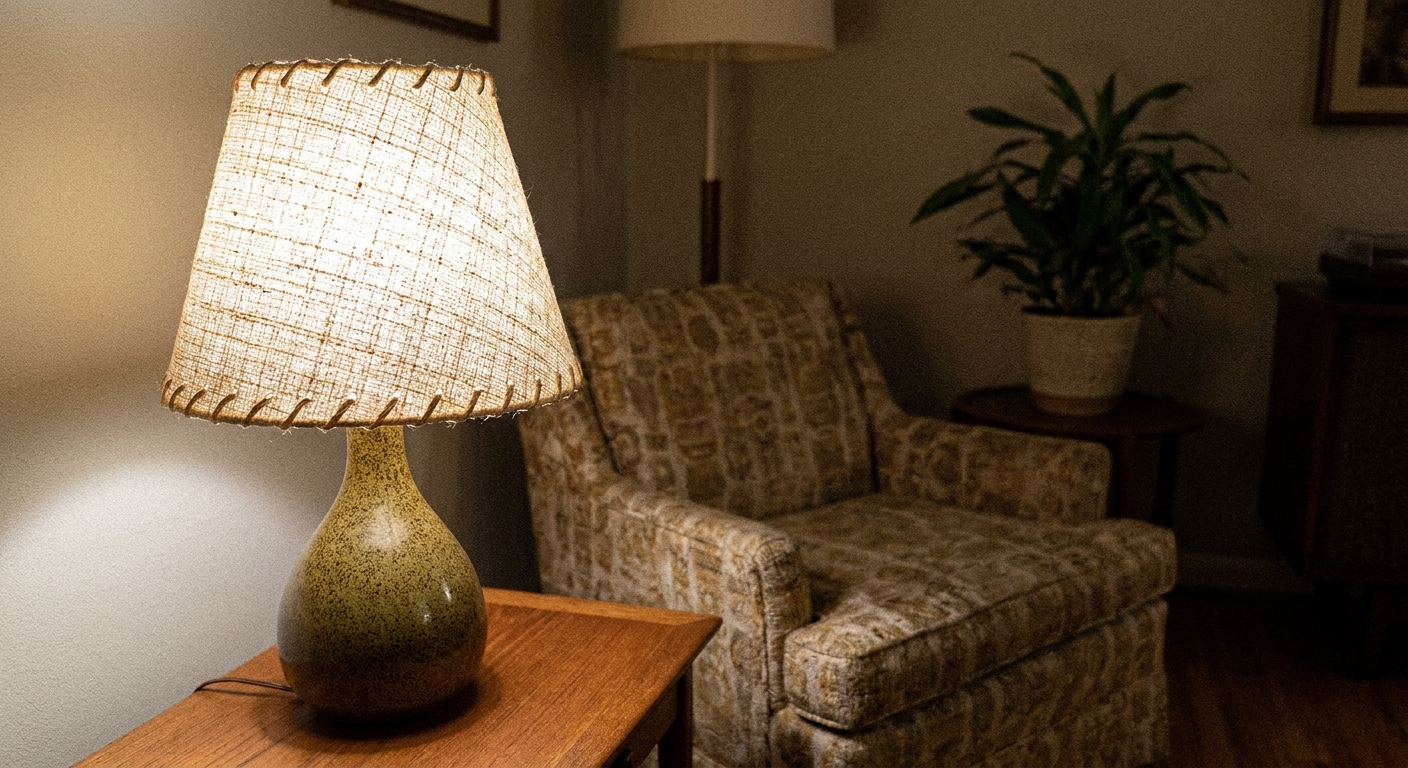
Fiberglass lamp shades are one of those mid-century details that instantly reads 1950s and 1960s, and you will also see them well into the 1970s. The material has a slightly translucent warmth, with visible texture and tiny variations that feel vintage even in a room full of modern basics.
- The glow is the giveaway. Fiberglass diffuses light softly, without the flat opacity of many paper or linen shades.
- The lacing matters. That whip-stitched edge, often in a contrasting thread, is a classic mid-century finish.
- The silhouettes are period-correct. Think drum, shallow drum, tall drum, and gentle cone shapes rather than heavily pleated or flared traditional styles.
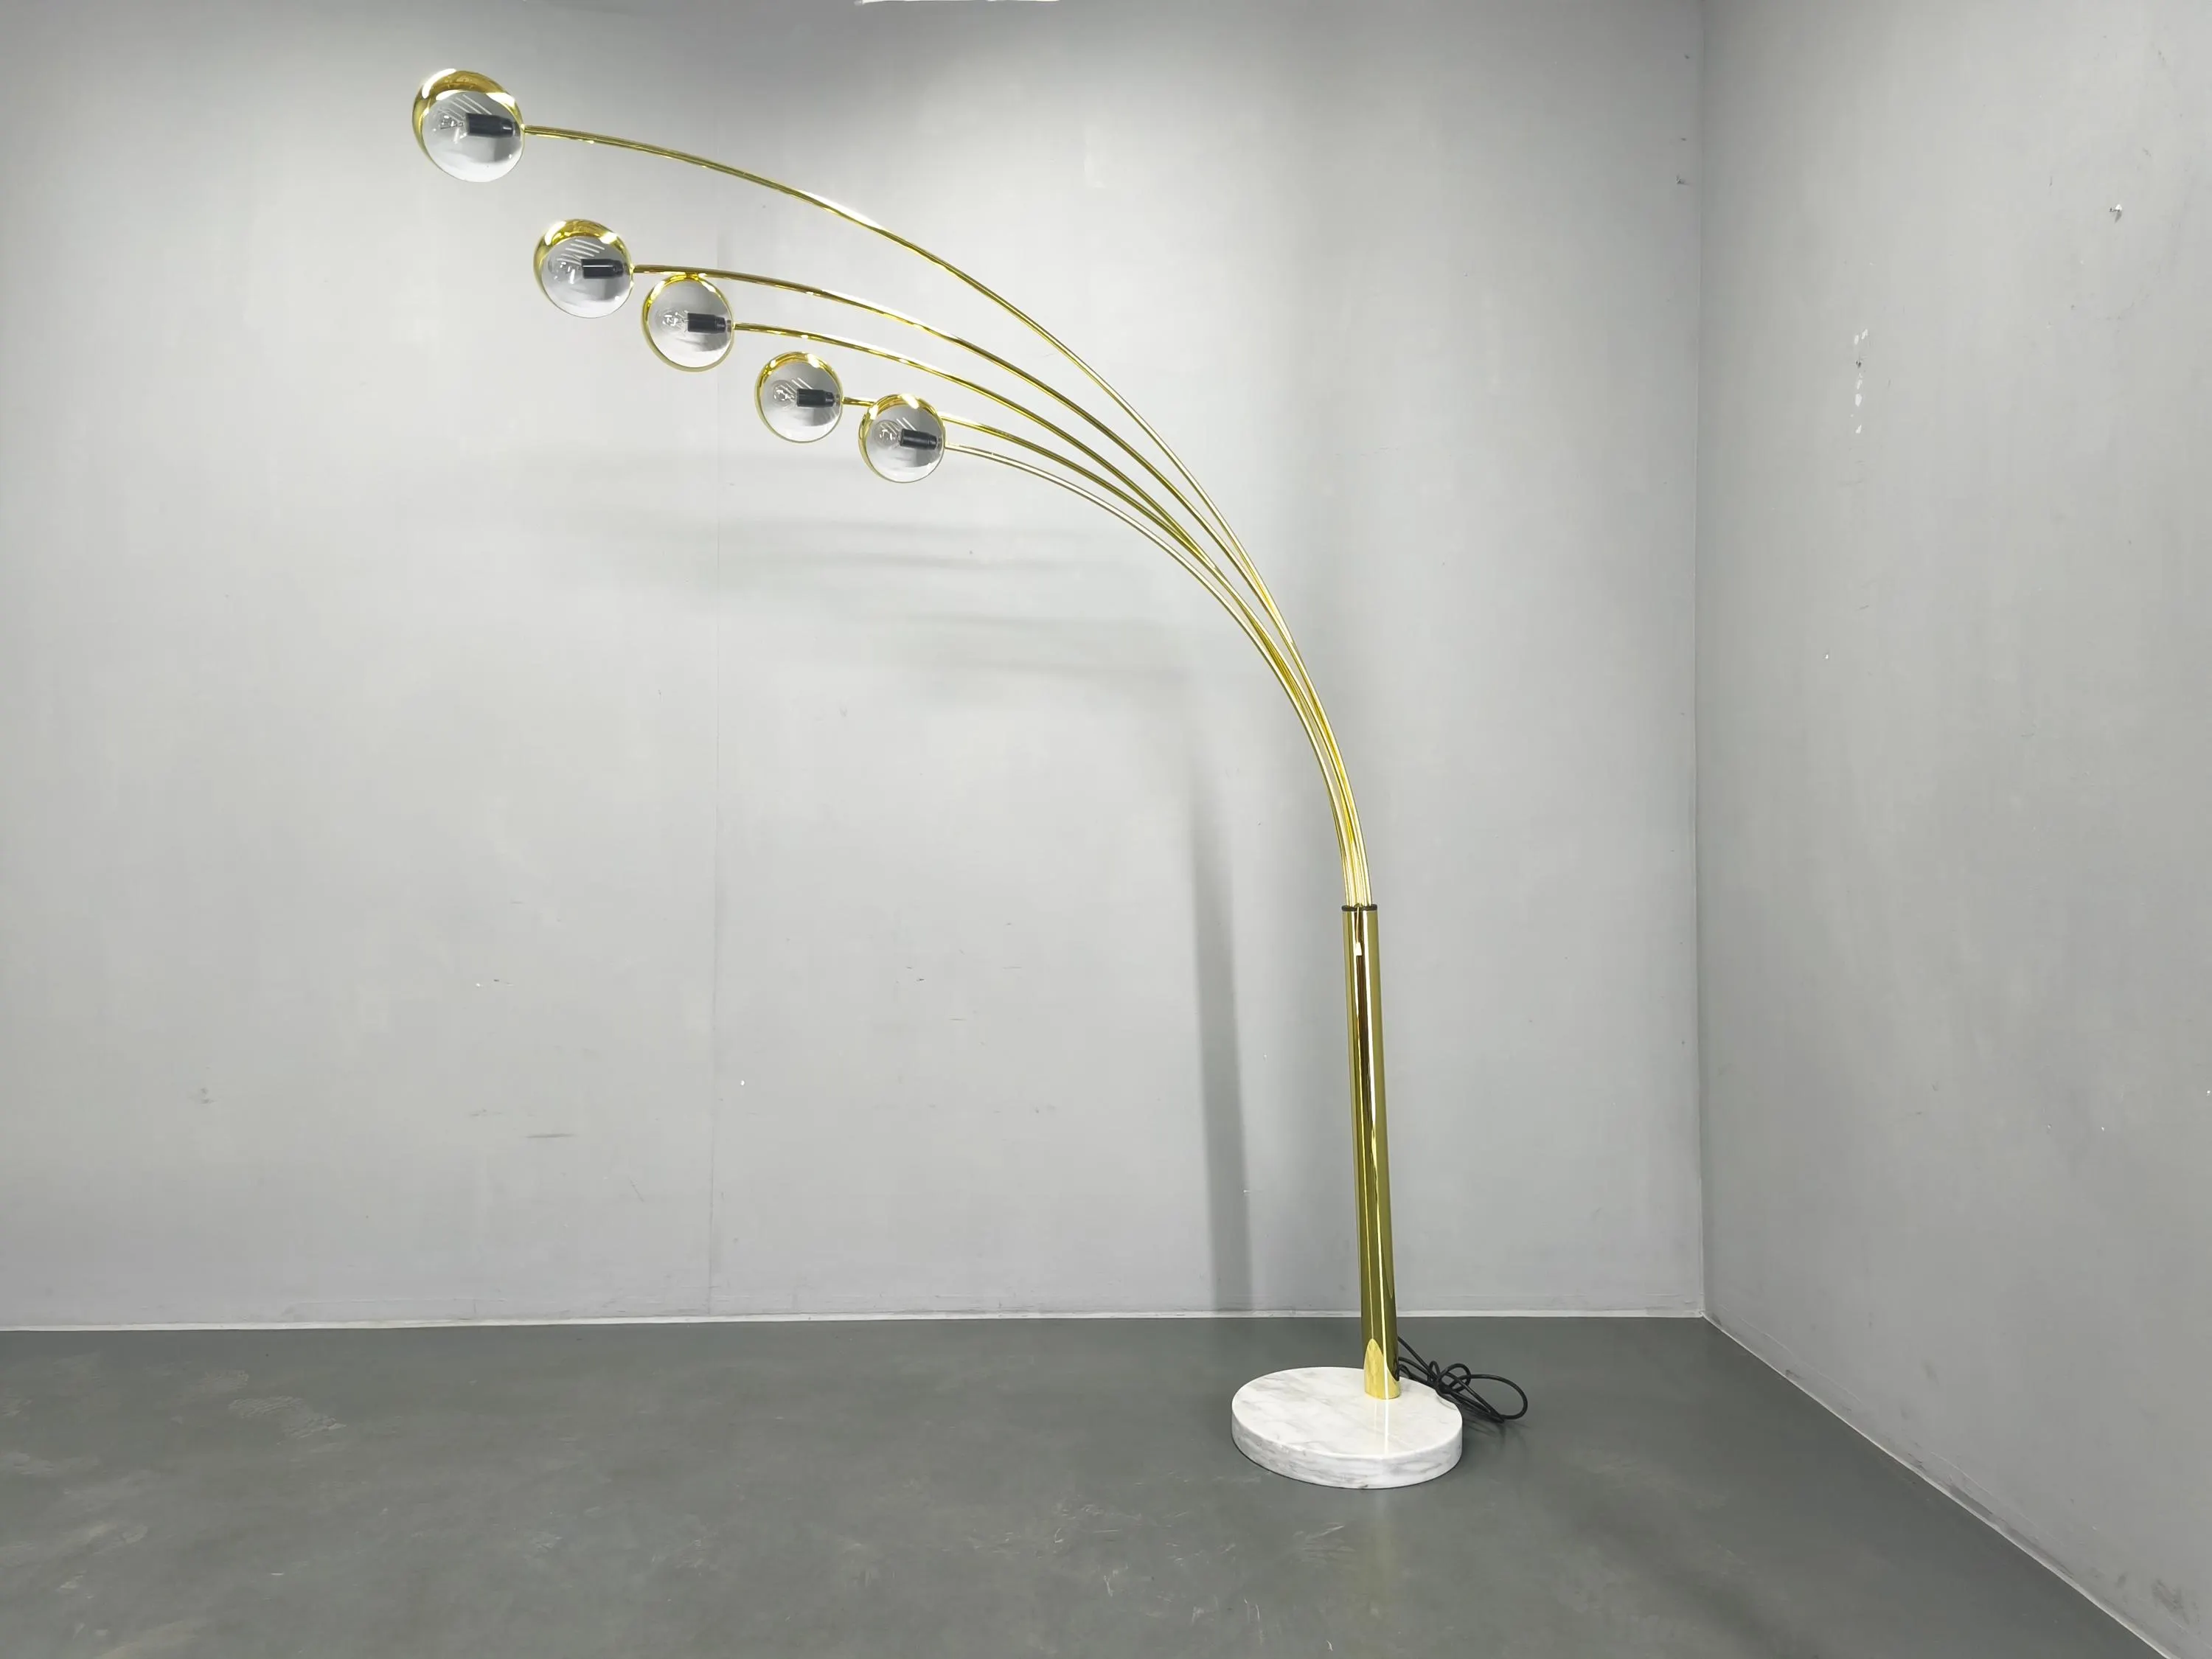
If you are still building your lighting lineup, you might also like my roundup of top mid-century modern floor lamps for cozy reading nooks. Mixing a few warm lamps at different heights is how you get that evening lounge feeling.
What to look for when thrifting lamp bases
I love ceramic bases for this project because they bring color and sculptural shape without needing a ton of restoration. You are looking for good bones, not perfection.
The best vintage-friendly base styles
- Atomic or biomorphic silhouettes: stacked orbs, hourglass forms, pebble-like curves
- Textured ceramics: lava glaze, matte speckle, ribbing, relief patterns
- Classic mid-century neutrals: cream, cocoa, olive, mustard, terracotta, seafoam
- Wood accents: teak or walnut collars, or wood bases paired with ceramic bodies
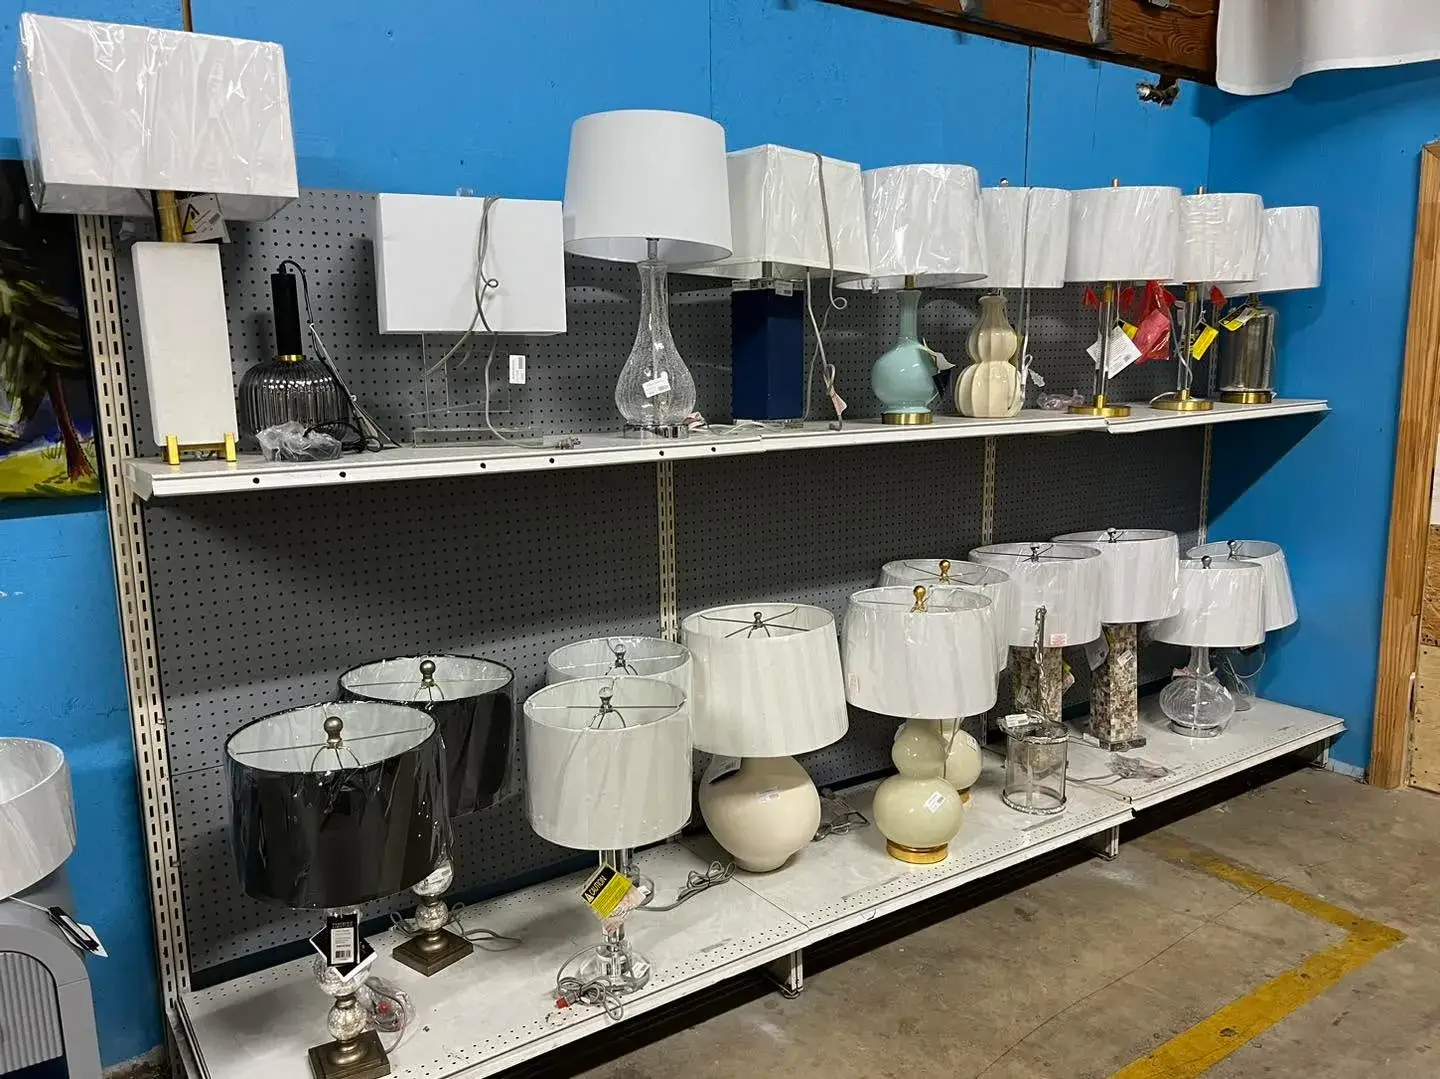
Quick condition checklist (in the aisle)
- Stability: set it down and gently tap the top. A good base should not wobble.
- Cracks vs. crazing: fine surface crazing can be cosmetic. Structural cracks that open when you press are a no.
- Socket tightness: if the socket rotates or feels loose, it is fixable, but factor in time for repair.
- Smell test: strong smoke odor can linger inside a base and in old cords.
For more secondhand shopping strategy, I keep a running playbook in Vintage Hunting & Thrifting, including how I approach estate sales and local stops.
Tools and supplies I actually use
You do not need a full workshop to do this well, but you do need to be honest about safety. If a lamp shows any sign of electrical damage, plan to rewire it.
- New fiberglass shade (more on choosing one below)
- Soft cloths and mild dish soap
- Magic eraser style sponge for stubborn grime (use gently on matte finishes)
- Screwdriver set
- Needle-nose pliers
- Replacement harp and finial if missing
- Optional: new socket and cord set (lamp rewiring kit)
- Felt pads for the base
- Warm LED bulb, preferably dimmable
Safety note: If the cord is brittle, cracked, taped, or warm to the touch after being on, do not use it. Rewire before styling. If you are not comfortable working with wiring, a local lamp repair shop can usually do this quickly, and it is worth every penny for peace of mind.
Old shade dust note: If you are cleaning an older fiberglass shade (or a base that has been stored in an attic), expect dust. I wear a basic mask and work outside or over newspaper so I am not breathing it in or grinding grit into the surface.
Step-by-step: upcycle the base before you buy the shade
I used to buy the shade first because it is the fun part. Then I learned the hard way that bases lie. A lamp can look normal, then you get it home and realize the harp is missing, the saddle is bent, the socket is an odd size, or the proportions feel totally different once the grime is gone. Now I prep the base first, then shop for the shade with measurements in hand.
1) Deep clean without stripping the character
- Unplug the lamp and remove the shade, harp, and bulb.
- Dust first, then wipe with a damp cloth and a drop of dish soap.
- Dry immediately, especially around metal hardware and felt bottoms.
- For brass-toned parts, I usually stick to gentle cleaning. A little patina reads more authentic than mirror polish.
2) Tighten and stabilize
- Check the socket cap and the threaded rod. Many wobbly lamps just need a snug turn with a screwdriver or pliers.
- Add felt pads under the base if it rocks or scratches surfaces.
3) Decide if you are keeping or replacing hardware
- Keep: solid brass harps, good ceramic sockets, original switches that feel crisp
- Replace: loose sockets, corroded parts, missing strain relief at the cord entry, cracked insulation
If you are also learning to evaluate secondhand furniture and finishes, my guide on structural red flags to avoid when thrifting mid-century wooden furniture uses the same mindset: stabilize first, decorate second.
Electrical red flags I never ignore
- Flickering that is not just a loose bulb
- Crackling, buzzing, or arcing at the socket or switch
- Scorch marks on the socket, harp, or shade fitter
- A switch that only works “sometimes” or feels hot after a few minutes
- Brittle insulation where the cord enters the base (that bend point takes a beating)
- Non-polarized plugs on a lamp that has clearly been rewired badly (mismatched parts, sloppy knots, electrical tape fixes)
If any of this shows up, I treat it as a rewire-or-walk-away situation.
How to choose the right fiberglass shade
This is the part that makes or breaks the authentic 1950s lighting vibe. A fiberglass shade that is the wrong size will look top-heavy, stubby, or oddly modern even if the base is perfect.
Measure these three things
- Base height: from the table surface to the socket saddle (where the harp sits), or to the socket cap if there is no saddle
- Base width: the widest point of the ceramic
- Harp height: from saddle to where the finial sits (or measure and buy a new harp)
My proportion rule of thumb
- Shade height: about one-third of the overall lamp height (base plus shade)
- Shade width: roughly equal to the base width, or up to 2 inches wider for a drum
- Bottom of shade: should cover the socket hardware when you are standing nearby, but not swallow the whole base
Helpful size ranges (so you are not guessing)
- Most table lamp shade diameters: roughly 12 to 16 inches across at the bottom
- Small lamps: often look best with 9 to 11 inches
- Chunky ceramic bases: can handle 16 to 18 inches without looking bobble-headed
Pick the right fitter style
Most table lamps use a spider fitter that sits on a harp and is secured with a finial. If your lamp is missing the harp, that is usually an easy fix with a standard replacement harp in the right height. Less common are uno fitters (that attach at the socket) which can be trickier to mix-and-match with vintage bases.
One detail that matters more than people think is spider drop, which is how far down the spider sits from the top of the shade. A standard spider drop puts the shade in a “normal” position. A recessed spider drop lets the shade sit lower, which can be perfect for hiding a taller socket or making a lamp feel more period-correct.
Details that read “true mid-century”
- Visible fiberglass texture, not perfectly smooth
- Whip-stitched lacing along the top and bottom edges
- Warm off-white, parchment, oatmeal, or tan tones
- Simple silhouettes like drum, tall drum, or gentle cone
Assemble the lamp for that 1950s glow
1) Install the harp and shade
- Seat the harp on the saddle at the socket.
- Set the spider fitter on top of the harp.
- Tighten the finial until snug, not cranked.
2) Choose the right bulb
This is where the fiberglass magic really shows up. I use warm LEDs almost exclusively because they run cool, they are efficient, and they reduce heat stress on older components.
- Color temperature: 2200K to 2700K for a cozy, amber-leaning glow
- Shape: A19 is usually fine, but check clearance inside shorter shades
- Brightness: start around 450 to 800 lumens, then adjust based on where the lamp lives
- Dimming: only if the lamp and bulb are compatible with a dimmer switch
3) Style the cord neatly
A beautiful lamp loses its charm if the cord snakes across the room. I route cords behind casework, along baseboards, and under rugs only with caution. Even low-traffic rugs can shift, pinch a cord, or hide damage. If you must cross a walkway, a cord cover is a safer plan than tucking it under a rug. If you are moving heavy vintage pieces to make the layout work, see how to safely move thrifted mid-century modern furniture.
A quick note on rewiring and polarized plugs
If you are rewiring a lamp, treat polarization with respect. Modern plugs are often polarized (one blade wider), which helps keep the hot and neutral where they belong. If you are not 100 percent confident identifying hot versus neutral and wiring the socket correctly, this is the moment to hire a pro. A lamp repair shop will also make sure you have proper strain relief where the cord enters the base, which is one of the most common failure points on thrifted lamps.
My favorite base and shade pairings
When you are trying to make a thrifted lamp look like it has always belonged, you want the base and shade to feel like they are from the same design conversation.
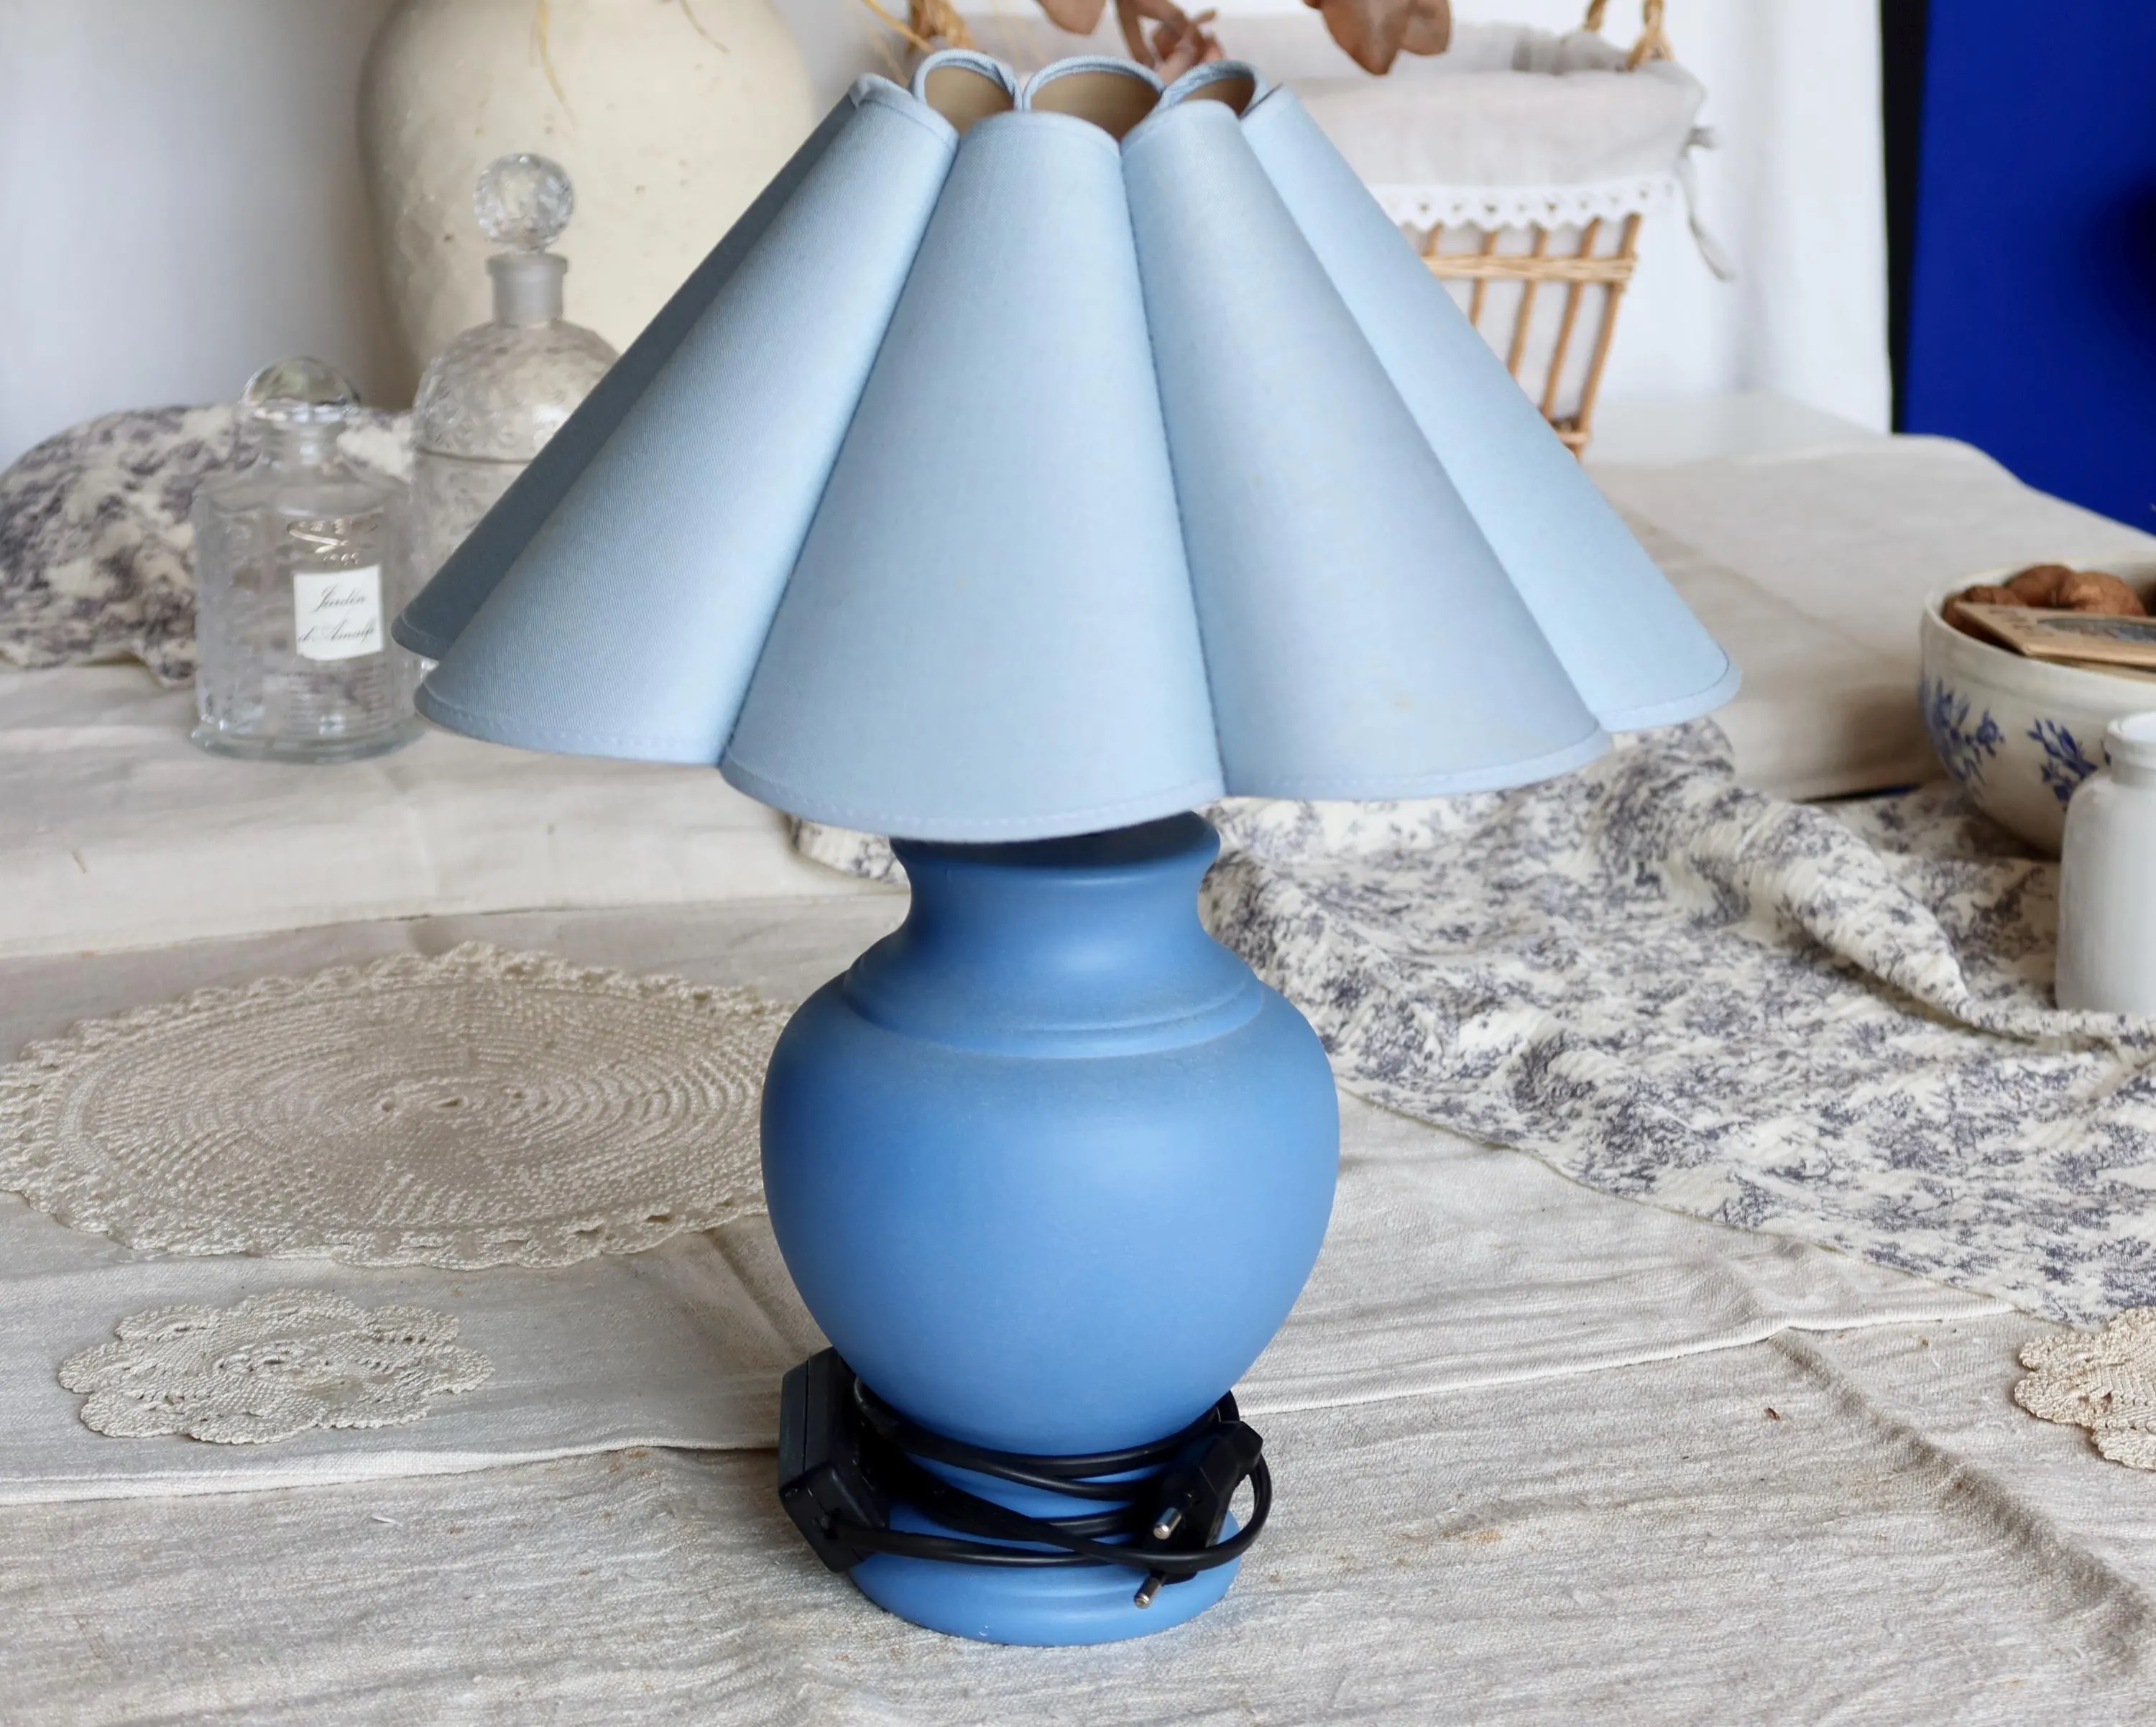
- Speckled matte ceramic + oatmeal drum shade: calm, earthy, and very 1958 ranch
- Glossy glaze in avocado or mustard + off-white tall drum: bold color, clean silhouette
- Lava glaze texture + warm tan cone: moody and dimensional for a den or office
- White ceramic with sculptural curves + brighter parchment drum: crisp but still vintage
If your room is already saturated with color, a neutral fiberglass shade is a nice breather. If the room is mostly wood tones and creams, a slightly darker tan shade can keep things from feeling too stark. My thoughts on balancing that mood are in earth tones vs. jewel tones in mid-century style.
Troubleshooting thrifted lamp problems
The shade sits crooked
- Check that the harp is seated evenly in the saddle.
- Make sure the spider fitter is not bent.
- Try a different finial. Some vintage finials are slightly off-thread.
The lamp wobbles
- Add felt pads to level it.
- If the base itself is uneven, consider a thicker felt circle cut to the base footprint.
The socket turns when you twist the switch
- Unplug and tighten the socket shell and the hardware at the base of the socket.
- If it still slips, replace the socket. A loose socket can stress the wiring.
The shade looks too new next to the base
- Choose a warmer tone of fiberglass, not bright white.
- Pick a lacing color that echoes the base. Tan lacing on a tan glaze looks instantly believable.
Where I find the best lamp candidates
Some of my best lamp bases have come from places that are not marketed as vintage. Think dusty charity shops, small-town thrift stores, and estate sales where lamps are priced to move because nobody wants to store them.
- Estate sales, especially last-day discounts. See estate sales for mid-century modern decor.
- Local spots like antique co-ops and community thrift stores. I list a few of my favorite types of places in overlooked local spots to score authentic mid-century modern furniture.
- Facebook Marketplace for lamp bases sold without shades. My approach is in secret search terms for mid-century modern on Facebook Marketplace.
Final styling touch: collected, not themed
Once your lamp is glowing, give it a little supporting cast. I love a thrifted ceramic dish for keys, a small stack of books, and one piece of art glass or pottery nearby to echo the texture in the fiberglass shade. If you enjoy hunting those smaller pieces, thrifting mid-century ceramics and art glass is my happy place of a guide.
A good upcycled lamp is not just a light source. It is a tiny time capsule. And when you get the base and fiberglass shade proportions right, it looks less like a DIY and more like you inherited it from someone with impeccable taste.