
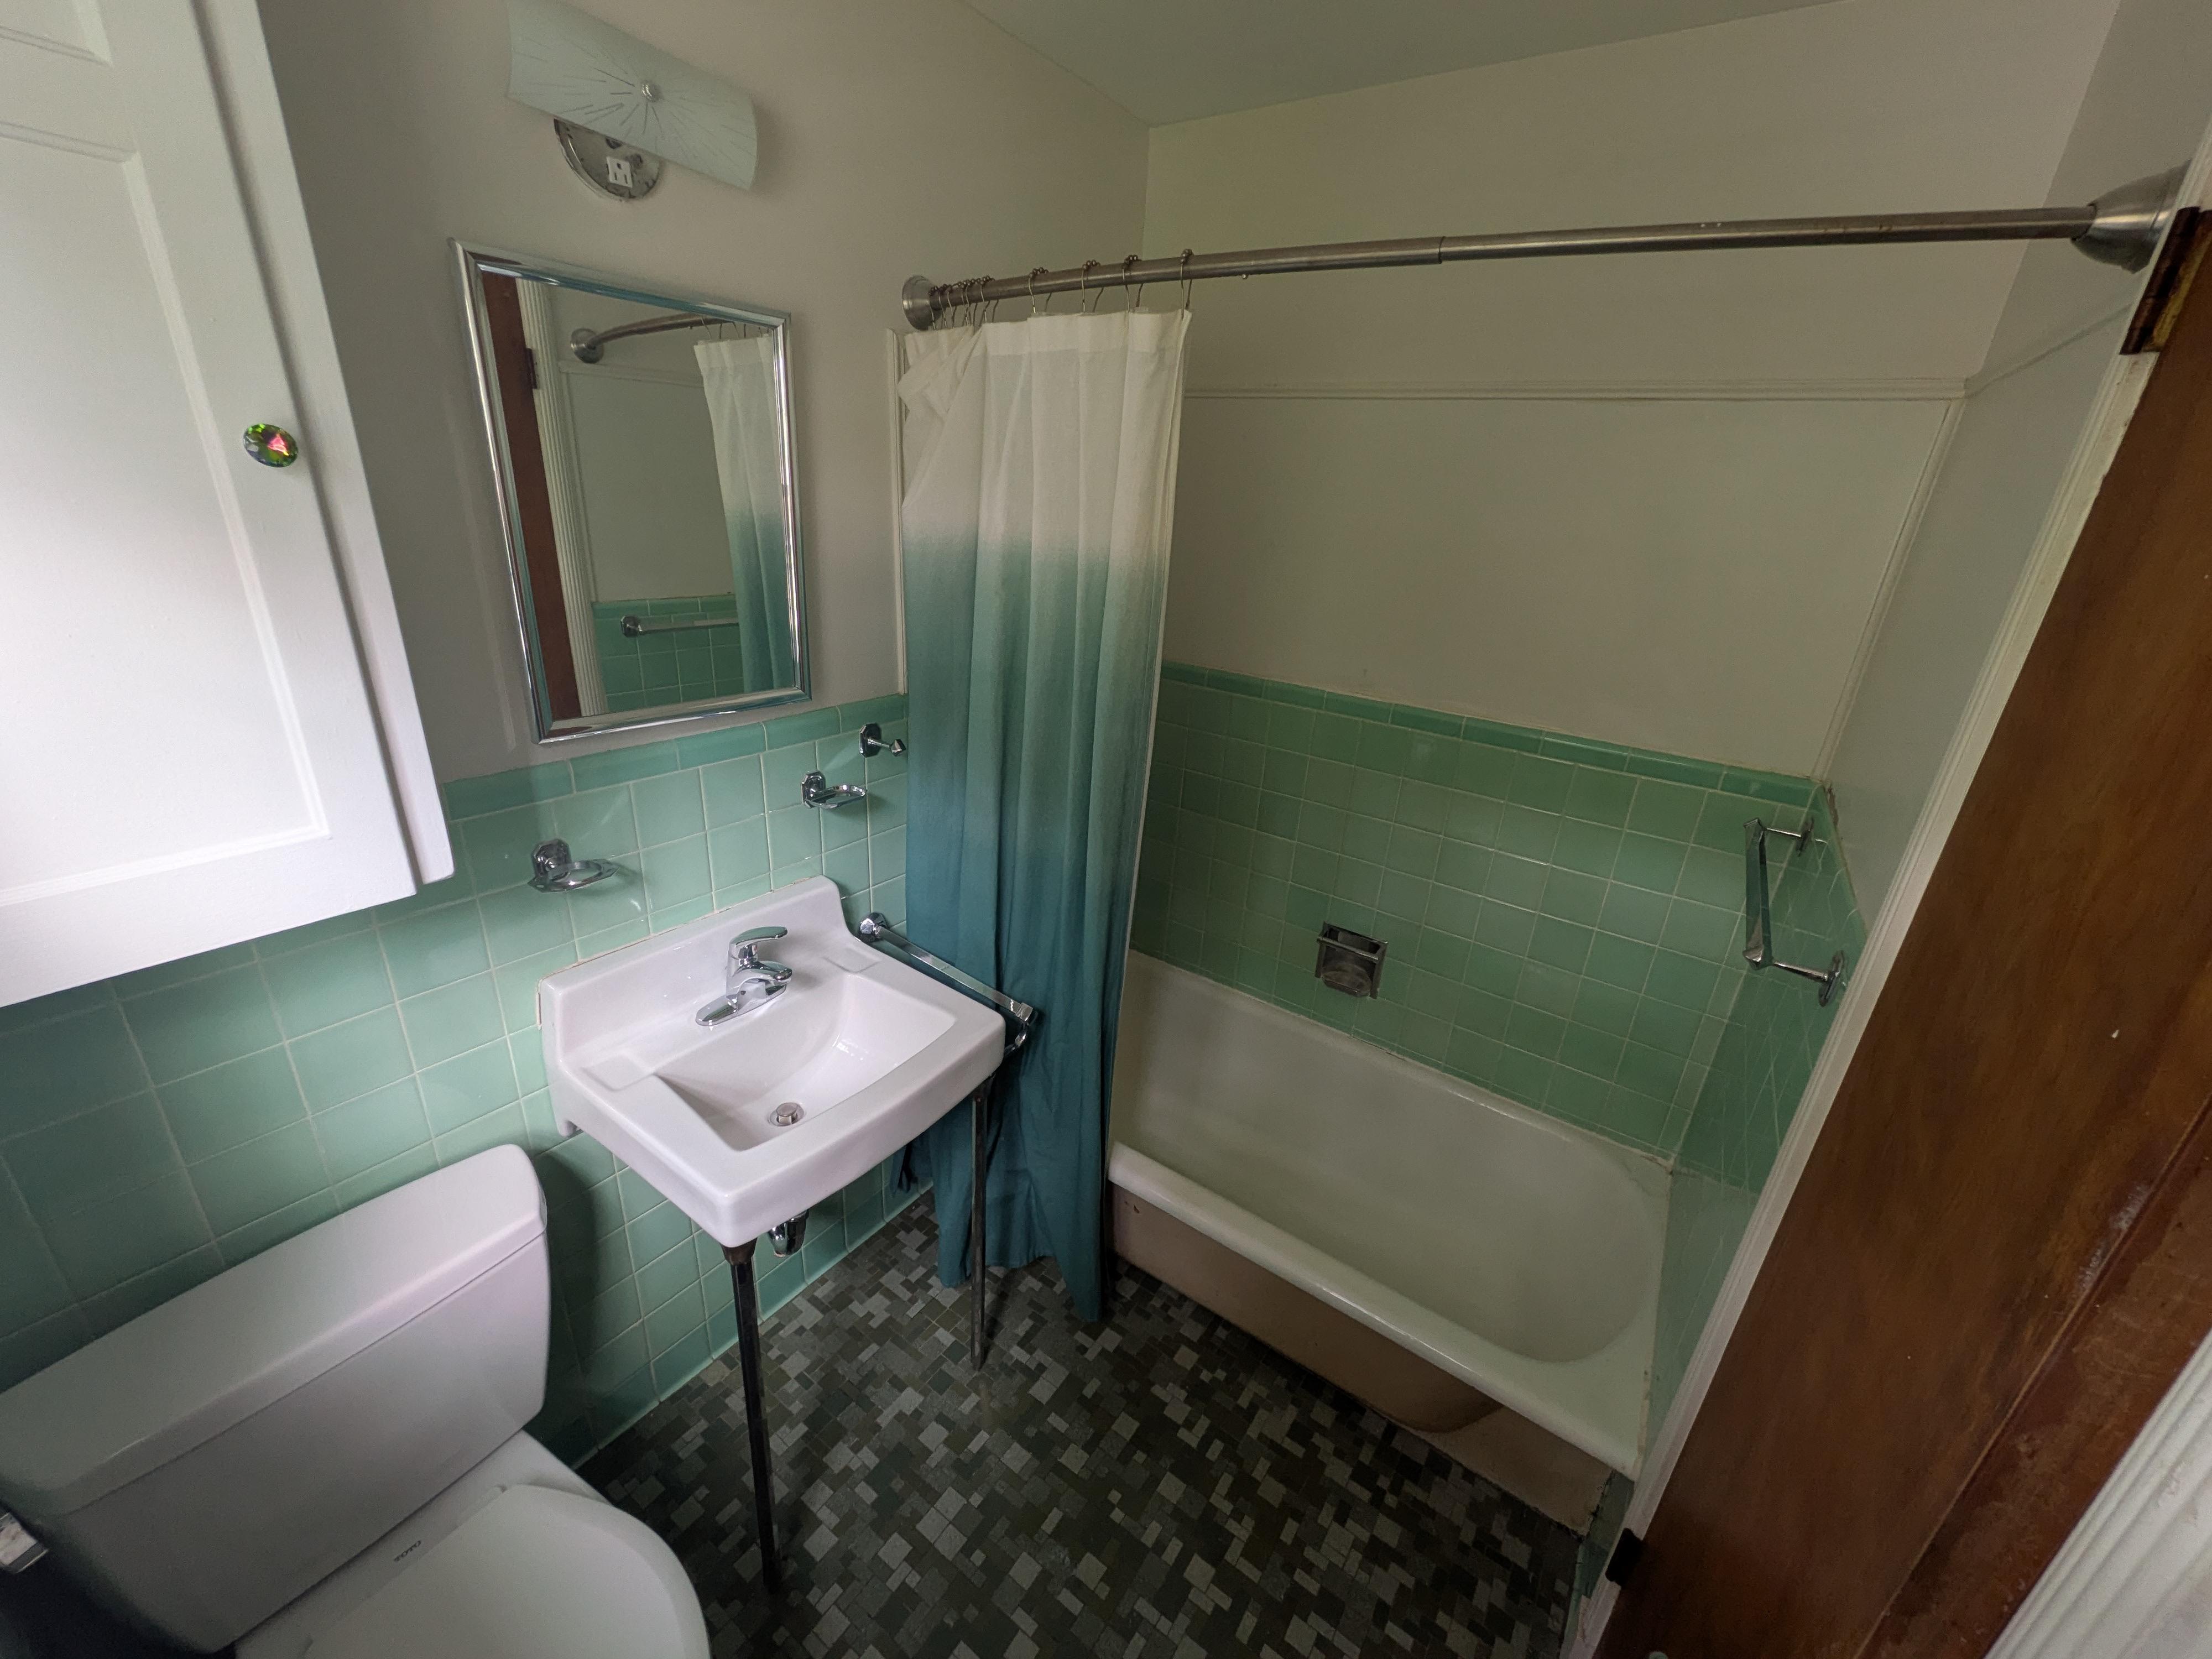
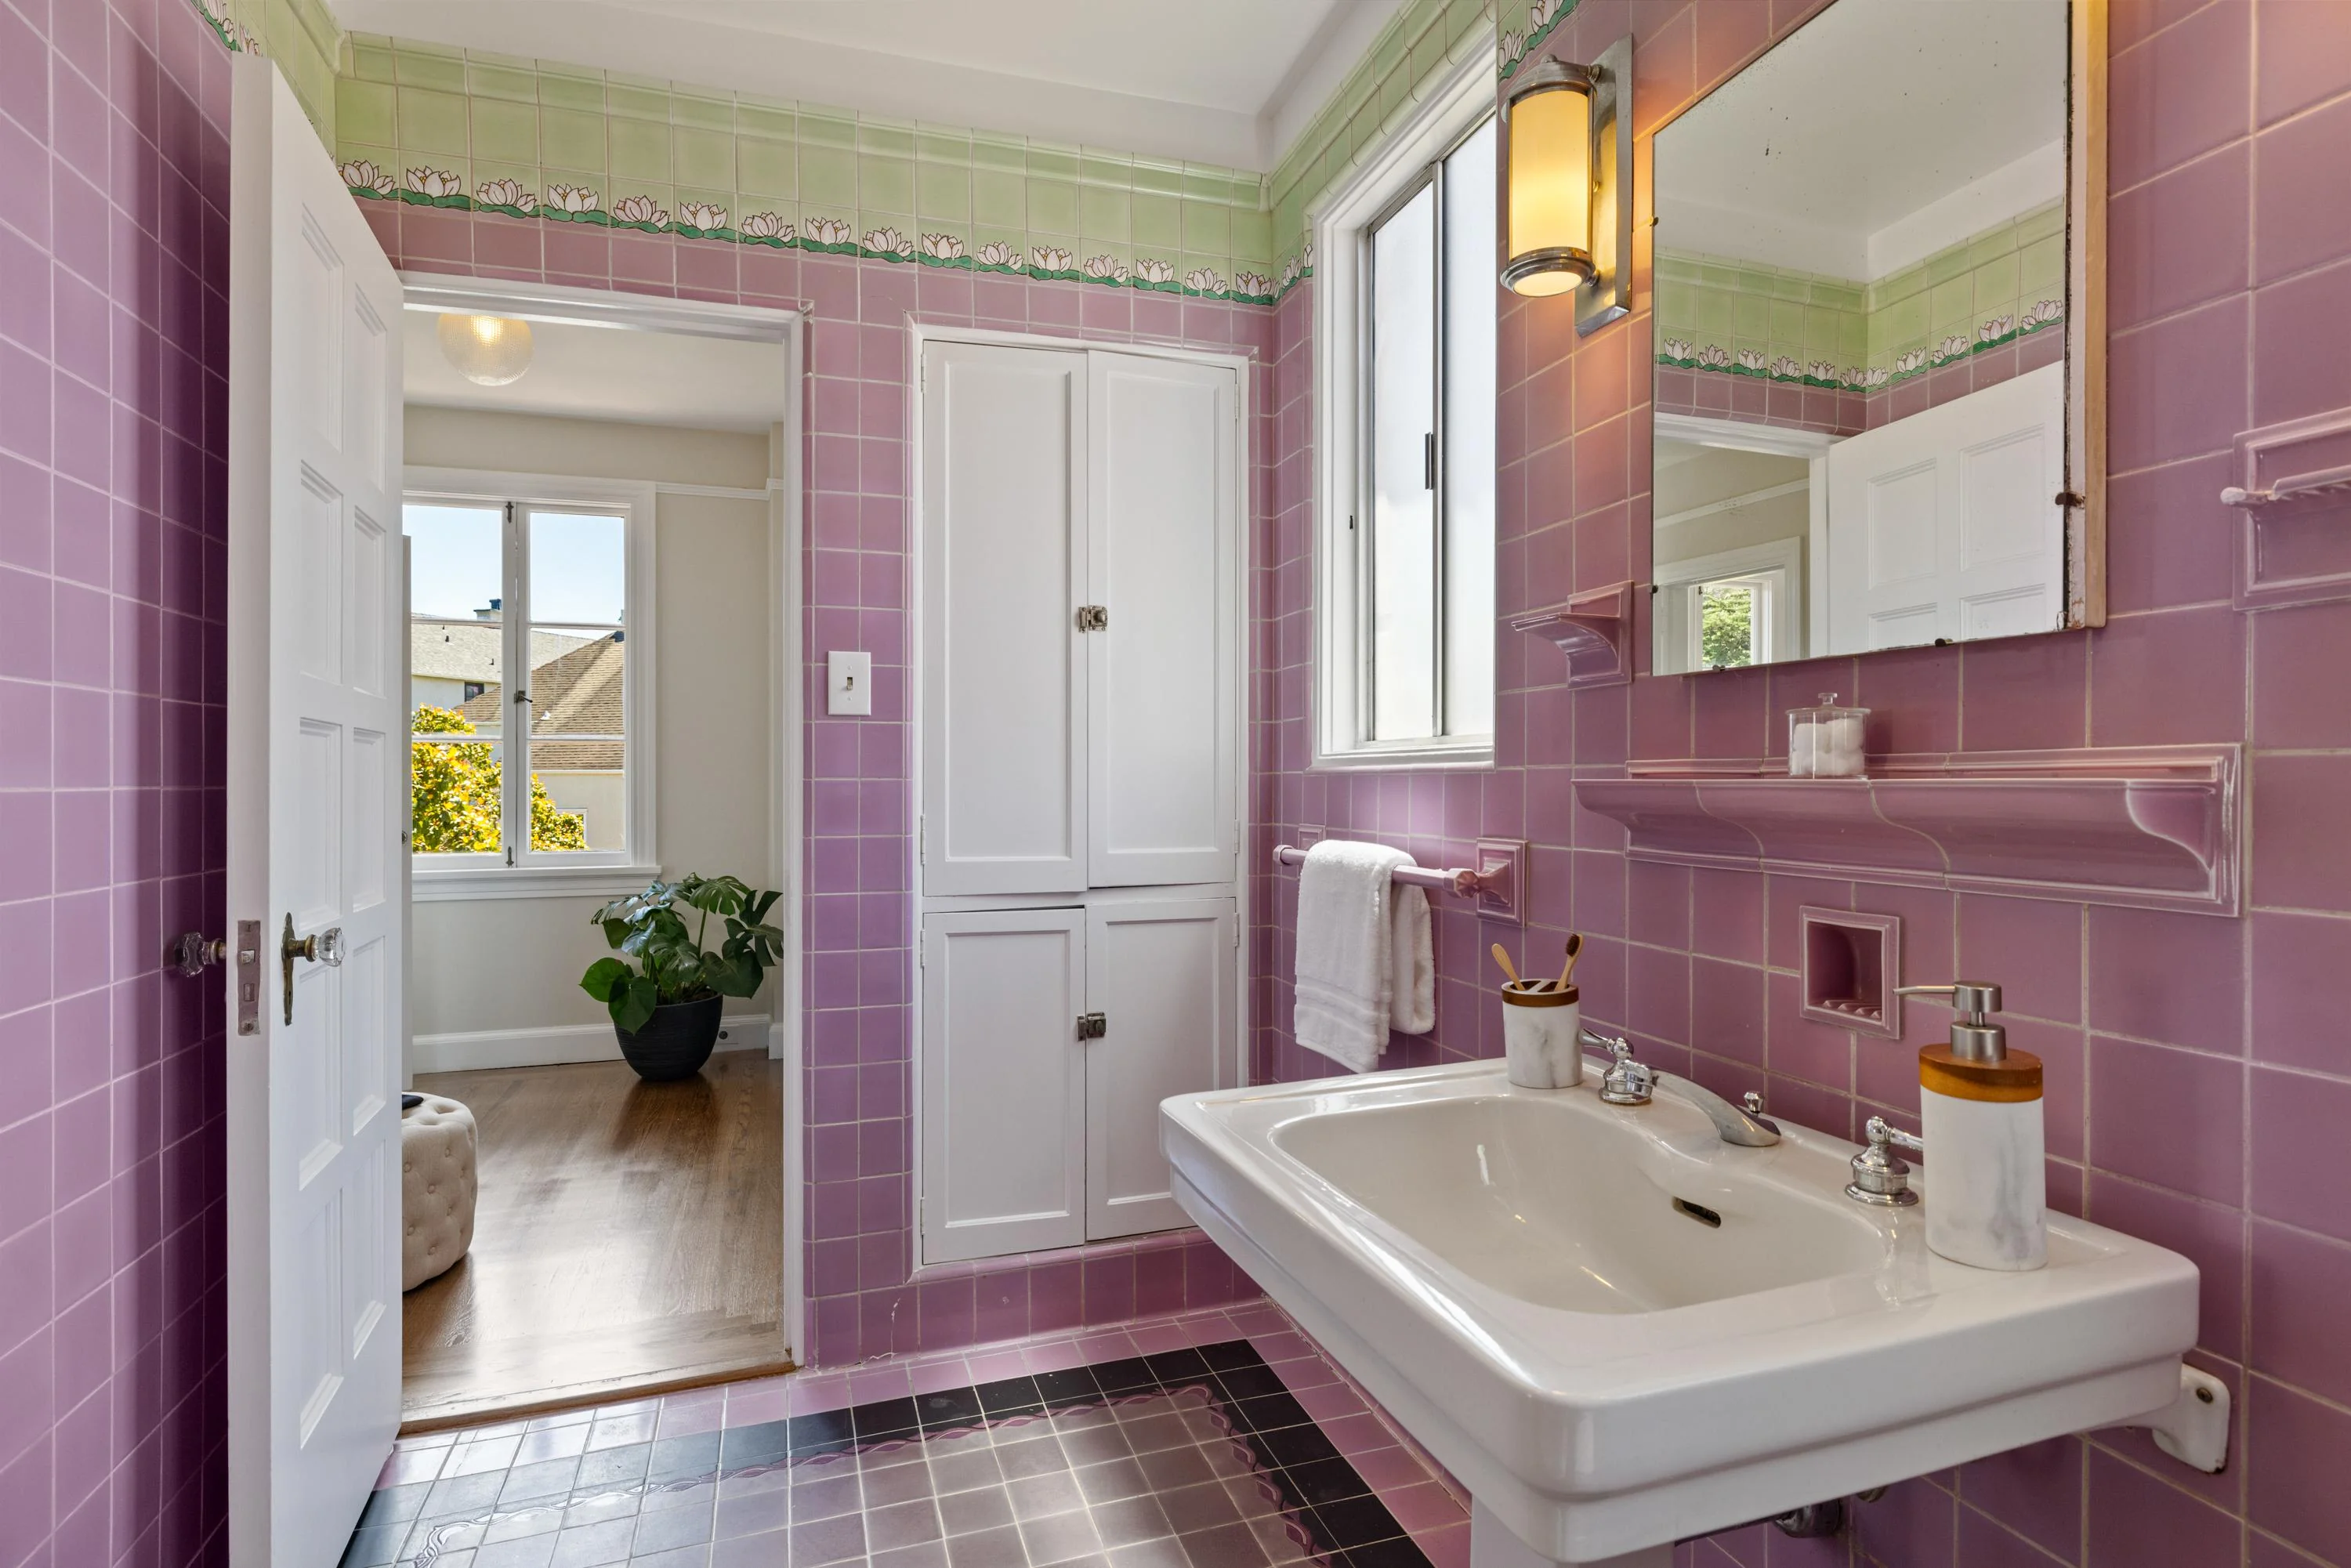
The first time I walked into our primary bathroom, I had that split-second reaction every mid-century house person knows: delight, followed immediately by panic. Delight because the walls were wrapped in original glossy tile in the prettiest seafoam-and-ivory mix. Panic because the fixtures were tired, the lighting was harsh, and the plumbing had the kind of drip that makes you start calculating water bills in your head.
This makeover is a renovation tour for anyone who loves their vintage tile but still wants a bathroom that works like it is 2026, not 1958. The goal was never to erase the room’s history. It was to keep the colorful tile as the star and quietly update everything that supports it: water, light, ventilation, storage, and the daily rituals that happen in front of the mirror.
Why the tile stays
Original mid-century tile has a particular magic: the color has depth, the glaze catches light like candy, and the grid of small joints reads as texture rather than clutter. More importantly, if the tile is intact, it is usually tougher than people expect. The weak points are almost always around it: aging valves, failed caulk, poor ventilation, and fixtures installed without much thought for water containment.
Before we touched a thing, I did three checks:
- Hollow-sounding areas: I tapped tile lightly with my knuckle, especially near the tub and around the sink wall. A few dull spots are not automatically a disaster, but widespread hollow sounds can indicate loss of bond, voids behind tile, or substrate movement.
- Cracks that repeat: Hairline cracks are common, especially in older homes. But cracks that repeat across multiple tiles, or show up near corners or plumbing penetrations, are worth monitoring and investigating before you spend money on cosmetic updates.
- Grout and caulk condition: Missing grout or old caulk that has pulled away is where water begins its slow, expensive work.
If you are in the planning stage for any vintage bathroom project, this same “save the original, upgrade what fails” logic applies to more than tile. I keep a similar checklist mindset when evaluating thrifted pieces too, especially structure and stability. If you enjoy that practical, eyes-wide-open approach, you might like 5 structural red flags to avoid when thrifting mid-century wooden furniture.
Prep: protect vintage surfaces
Preserving tile is as much about protection as it is about restoration. Mid-century glazed tile can take a lot, but it does not deserve a hammer swinging too close.
What we covered and why
- Tile edges and outside corners: Cardboard plus painter’s tape kept tool bumps from chipping the glaze.
- Tub deck and ledges: A padded drop cloth prevented scratches from removed hardware.
- Floors: Ram board or thick paper prevented grit from acting like sandpaper underfoot.
If you are doing this yourself, the real trick is housekeeping. Dust and grit are what cause mystery scratches. A quick vacuum at the end of each day protects vintage finishes more than any fancy product.
One quick safety reality check: in a 1950s bathroom, you may run into lead paint (especially under older layers) and, depending on the house and remodel history, asbestos in some flooring, mastics, and patching compounds. If you are disturbing painted surfaces or pulling up old flooring, testing and professional guidance can be the smartest part of the whole plan.
Tile refresh: clean, grout, caulk
This was the most satisfying part because it is where the room started looking loved again. The tile did not need “restoration” so much as a careful reset.
Gentle cleaning that protects the glaze
I avoided abrasive powders and scrub pads that can haze glossy tile. Instead, I used warm water, a pH-neutral cleaner (even a small amount of pH-neutral dish soap works), and a soft brush for routine grime. For mildew staining in grout, I spot-treated rather than blanket-scrubbing everything.
If you do spot treatments, test first in an inconspicuous area and keep ventilation going. Some cleaners can discolor grout or react with old finishes if left too long, and vintage bathrooms have a way of surprising you.
Re-grout where it counts (or go bigger)
If your grout is crumbling, missing, or constantly dark in the same spots, it is telling you water is hanging out too long. We removed loose grout in the problem areas and re-grouted to match the original tone as closely as possible. If grout is failing broadly across the room, a more complete re-grout may be the better long-term move.
On mid-century tile, grout color is part of the design. Bright white grout can make a 1960s palette look unintentionally modern and stark.
Re-caulk every water transition
Caulk is not glamorous, but it is the guardrail. Anywhere tile meets a tub, countertop, or another plane is a caulk zone. We removed failing caulk fully (a simple caulk remover tool helps), cleaned the joint, let everything dry completely, then applied a neat bead and smoothed it evenly. A clean caulk line makes vintage tile look crisp instead of tired.
One note on sealing: some modern grouts are more stain-resistant than older mixes, and not every grout benefits from the same sealing routine. If you are unsure what you have, treat sealing as a decision, not an automatic step.
Plumbing upgrades that fit the room
Old bathrooms can be charming and also quietly inefficient. We updated the behind-the-wall essentials first so the pretty decisions on top would not be compromised later.
What we changed behind the scenes
- Shutoff valves: If yours are original or hard to turn, this is an upgrade you feel every time you need it.
- Supply lines and traps: New lines reduce leaks and make future maintenance easier.
- Mixing valve for the shower: Modern pressure-balancing valves can improve comfort and safety. Depending on your existing setup, the upgrade may require opening the wall, and code requirements vary by jurisdiction.
My personal rule is simple: if it controls water or stops water, it should be dependable. The tile is the heirloom. The plumbing is the support system.
Fixtures: era-friendly, not theme-y
The quickest way to make vintage tile feel like a set piece is to lean too hard into novelty. Instead, I look for shapes and finishes that could plausibly live alongside the tile, even if they are newly made.
Finish strategy: one lead, one supporting
In our bathroom, the tile already brings color and shine, so I kept metals simple. If you love mixing metals in mid-century interiors, the same principle applies in bathrooms: choose a dominant finish, then add smaller accents in a second metal so it looks intentional. I go deeper into this approach in Mixing brass, copper, and chrome in mid-century modern style.
Faucet and hardware shape cues I like
- Softly squared levers rather than ultra-thin minimalist lines
- Simple round escutcheons and clean silhouettes
- Avoiding overly ornate “vintage replica” detailing that fights the tile
Think of it as letting the tile be the pattern and the fixtures be the tailoring.
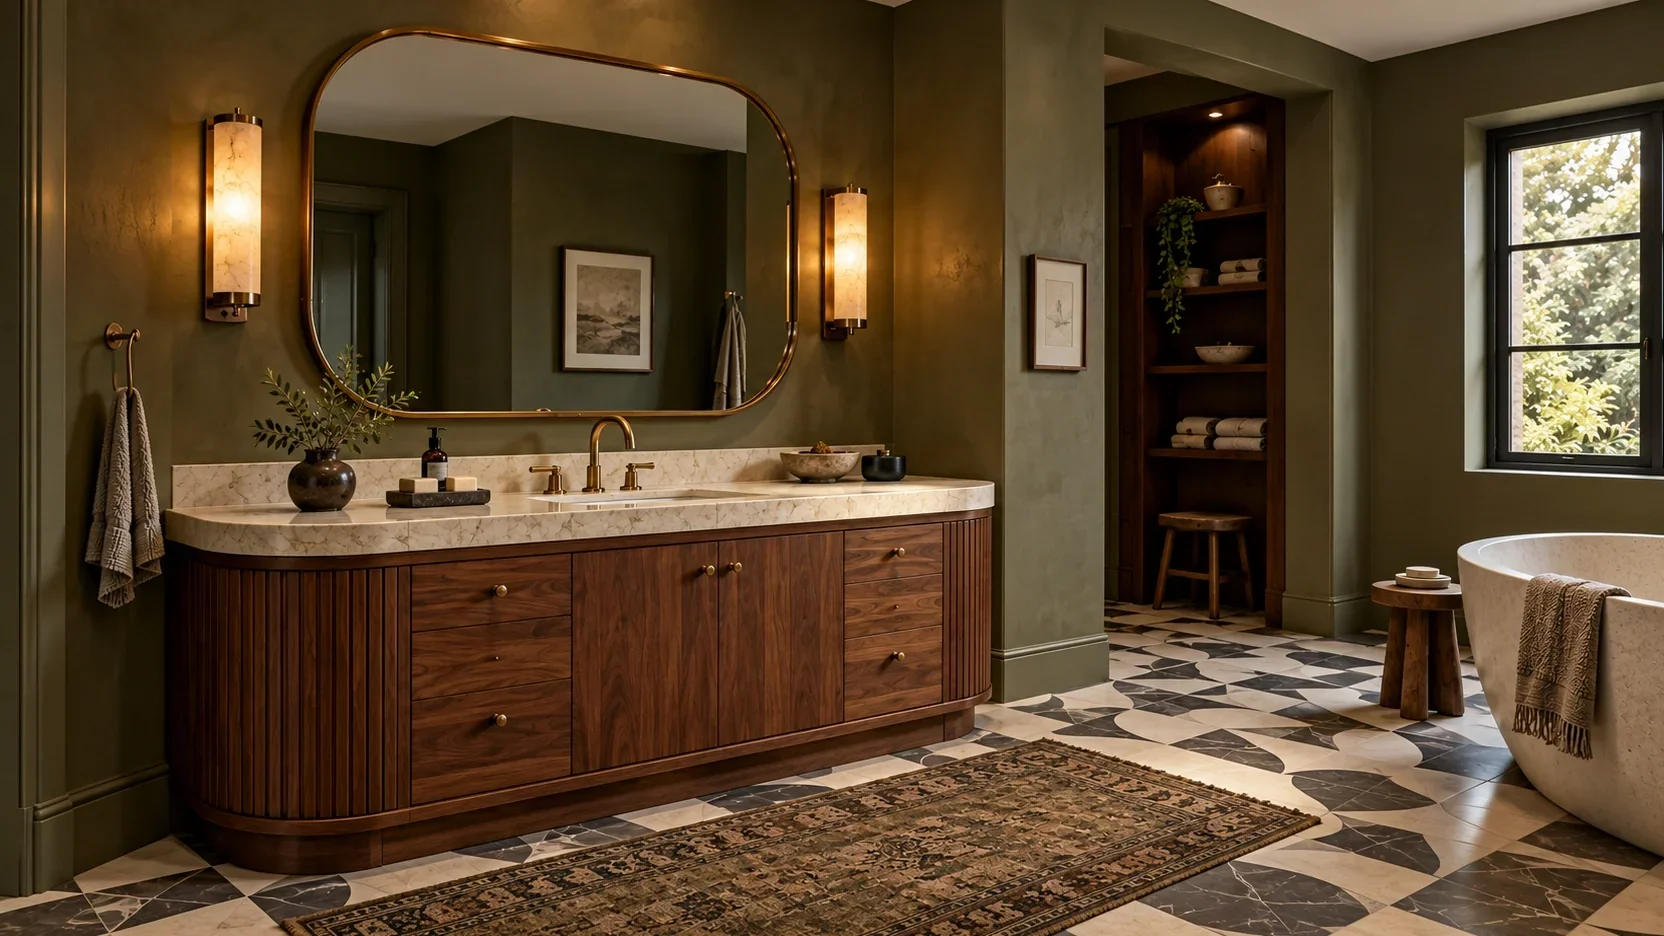
Lighting: warm and flattering
Vintage bathrooms often have lighting that feels more like a utility closet than a place you start and end your day. Updating lighting was the single biggest quality-of-life change.
What we aimed for
- Warm color temperature: A warm white bulb keeps colorful tile from looking cold or clinical.
- Even face lighting: Sconces or a well-designed vanity light reduces shadows under the eyes and chin.
- Moisture-appropriate fixtures: Bathrooms need fixtures rated for damp locations where required, and shower or tub zones may call for wet-location ratings depending on placement.
Ventilation: the upgrade that protects tile
If I could make every old-house bathroom owner do one thing, it would be improving ventilation. Steam is what turns a charming vintage bathroom into a maintenance loop of mildew, peeling paint, and discolored grout.
We upgraded the exhaust fan to a quieter, more effective unit and made a habit of running it long enough to actually clear the room. If your mirror stays foggy for ages, your bathroom is telling you it needs help.
Floor and paint: keep it calm
Colorful mid-century tile already does a lot of heavy lifting. For the rest of the finishes, I aimed for supporting neutrals that feel period-friendly.
What works with colorful tile
- Paint: A warm white or gentle greige that relates to the tile’s lighter tone
- Flooring: Classic small-scale patterns, warm neutrals, or materials that echo mid-century simplicity
- Textiles: Solid towels and a subtle texture rather than busy prints competing with the tile grid
If you love playing with mid-century color relationships, but want it to look intentional and livable, you will probably enjoy Earth tones vs. jewel tones in mid-century style.
Storage: add function, not noise
Mid-century bathrooms were not designed for today’s amount of stuff. The trick is adding storage without adding visual noise.
Small changes that made a big difference
- A medicine cabinet with depth: Keeping countertop clutter off the vanity instantly made the tile feel more prominent.
- Wall hooks: A simple set of hooks reduced towel piles and helped the room feel tidier.
- Closed storage: When the tile is colorful, closed storage keeps the room from feeling busy.
Step by step: the order we used
Here is the order that kept us sane and kept the tile safe.
- Assess and protect: Tapping tile, checking grout, covering vulnerable edges.
- Demo only what needed to go: Fixtures, mirror, light, and failing accessories.
- Plumbing updates: Valves, lines, and any necessary behind-the-wall improvements.
- Tile refresh: Cleaning, grout repair, fresh caulk.
- Paint and ceiling work: Always before installing new lighting if possible.
- Lighting installation: Vanity lights and any overhead fixture updates.
- Fixture install: Faucet, shower trim, hardware, and finishing touches.
- Styling: Towels, a small tray, and one or two vintage accents.
When to call a pro
I love a confident DIY moment, but bathrooms are where small problems become expensive ones. I would bring in a qualified pro if you notice:
- Active leaks or recurring damp smells: Especially around the tub wall, shower valve, or under the sink.
- Loose tile in wet zones: If tile shifts when you press it, or hollow sounds are widespread and getting worse.
- Chronic mold issues: Surface mildew is one thing. Persistent mold, soft drywall, or swelling trim is another.
- Signs of substrate damage: Spongy floors, crumbling plaster, or staining that returns quickly after cleaning.
Keeping original tile is a beautiful goal, but if there is chronic water intrusion behind it, a cosmetic refresh will not solve the root cause. Fix the water path first, then make it pretty.
Common tile issues and what I would do
One or two cracked tiles
If the crack is stable and not in a heavy-impact zone, I would often live with it while keeping the area well-sealed. Perfectly matching replacement tile is hard. A thoughtful repair beats a patchwork of almost-matches.
Missing bullnose or trim
I look for salvage first. If you are a thrifter by nature, you can apply the same persistence to architectural salvage as you do to furniture hunting. Estate sales can be unexpectedly great for old-house parts. My favorite mindset for that kind of hunt is in Estate sales for mid-century modern decor.
Grout that keeps turning dark
This is usually moisture and ventilation, not a “dirty bathroom” problem. Fix airflow first, then re-grout or seal as appropriate for your grout type and your situation.
Tile that feels loose
Loose tile is a sign to pause and investigate. You may be dealing with wall substrate issues or chronic water intrusion. This is where a qualified tile pro or contractor is worth it.
After: simple maintenance habits
The best compliment you can give vintage tile is boring consistency. My three habits now:
- Run the fan long enough: I aim for about 20 to 30 minutes after showers, or until the mirror clears and the room feels dry.
- Keep water from lingering: A quick towel wipe on ledges, or a fast squeegee on the wettest areas, reduces mildew drama.
- Check caulk seasonally: I look for pulling, gaps, or discoloration and handle small repairs before they become wall repairs.
How it feels now
My favorite part of this makeover is that it still feels like a mid-century bathroom. The tile is the same tile that made me fall in love with the room. But now the shower is consistent, the light is warm, the fan actually clears steam, and the whole space feels calm instead of cranky.
If you are sitting on a colorful vintage bathroom and wondering whether you have to gut it to make it functional, you do not. Preserve what makes it special. Upgrade what makes it livable. That balance is where the magic is.