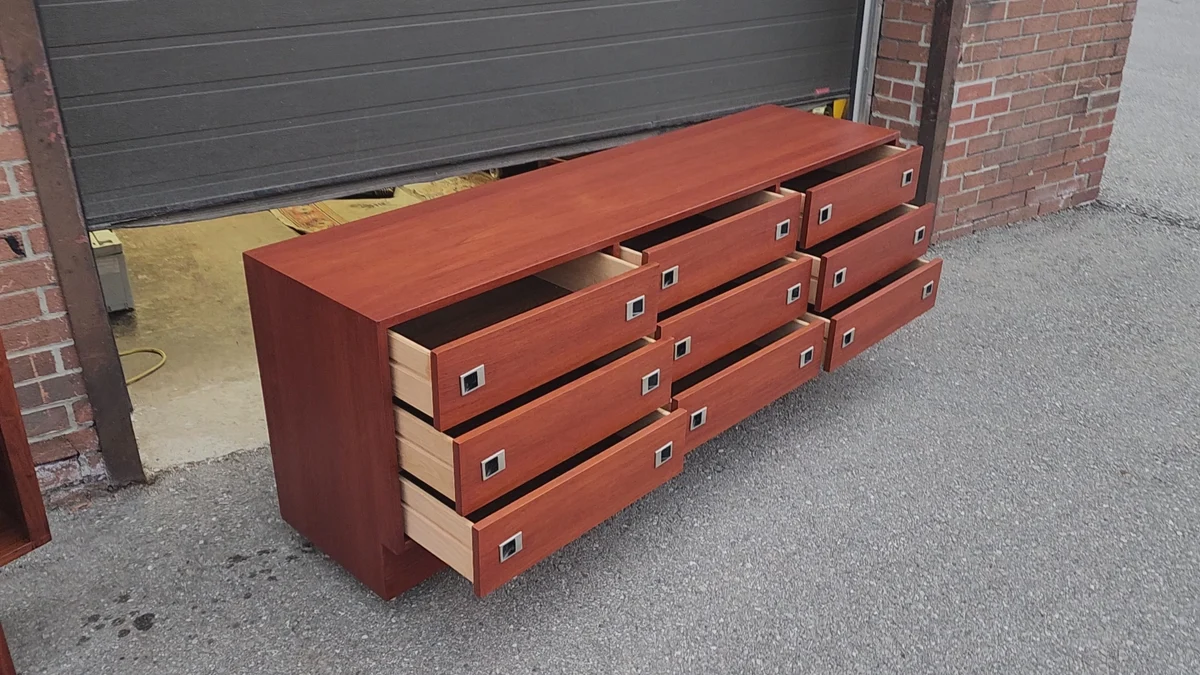

The first teak sideboard I ever brought home was a curbside rescue with the saddest, thirstiest top you can imagine. From five feet away it still had that mid-century silhouette, but up close the finish looked like a dry lakebed. I remember running my hand across it and thinking, please don’t be veneer, please don’t be veneer.
Good news: a lot of the mid-century teak case pieces you will actually find while thrifting are veneered, and that is not a dealbreaker. It just means your restoration needs a lighter touch. Teak is forgiving when it comes to re-oiling, and you can bring back that honey-warm glow with patient cleaning, a careful scuff sand, and the right oil.
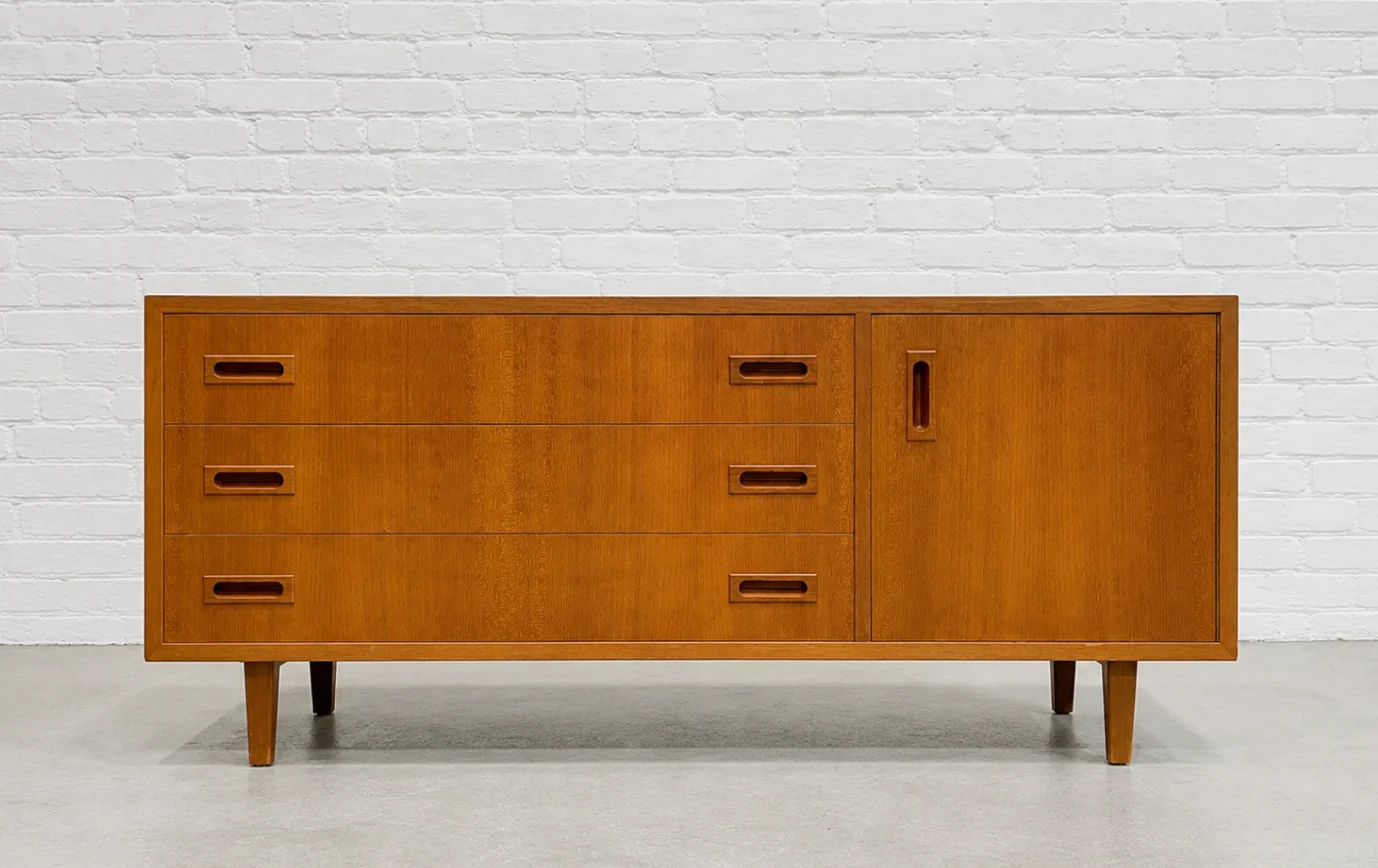
Before you start: know what you have
Is it veneer or solid teak?
- Look at edges and corners: If you see a very thin layer of wood on the edge with a seam line, it is veneer.
- Check the grain pattern: Veneer often shows beautifully consistent grain across wide surfaces. Solid wood usually has more variation.
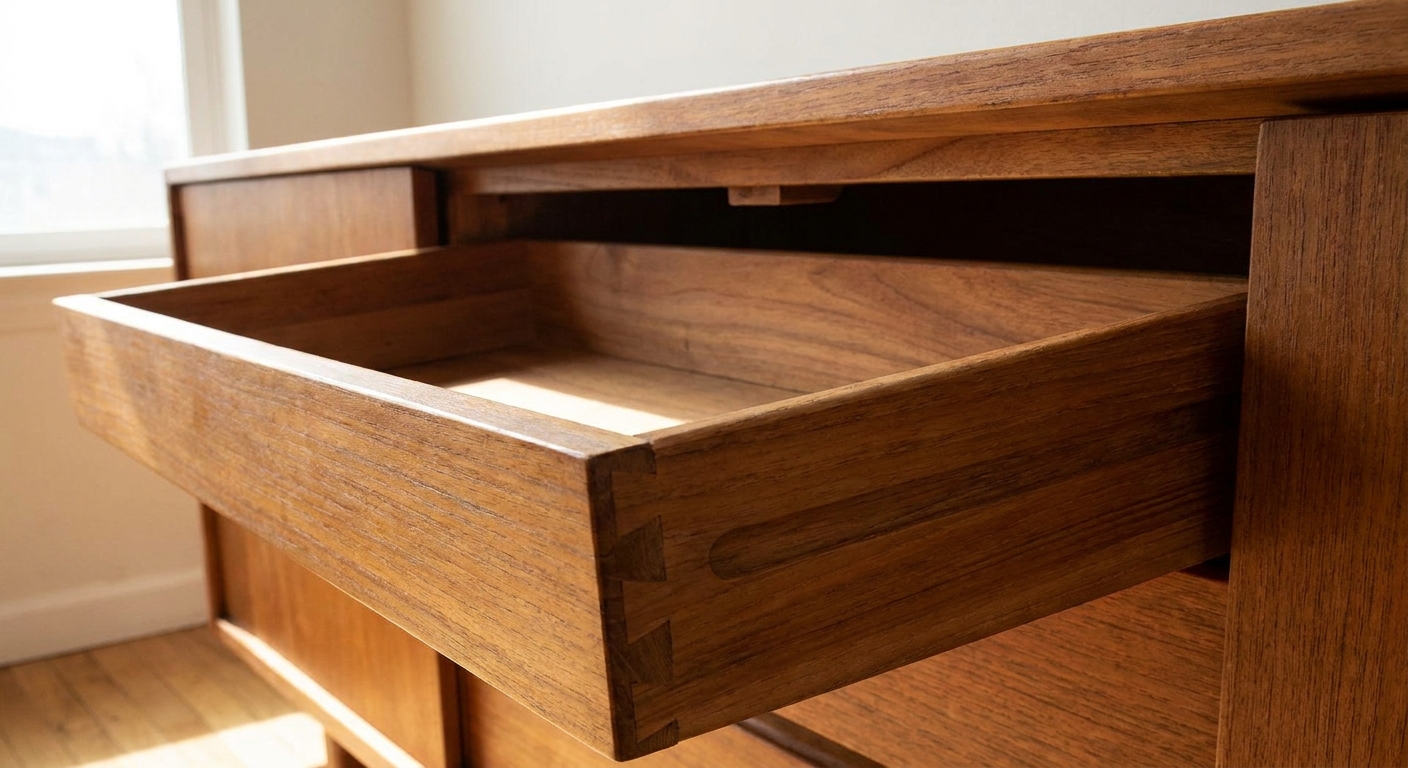
- Open doors and drawers: Interiors may be a different wood (often oak, birch, or plywood) even when the exterior is teak veneer.
If you are unsure, assume veneer and proceed gently. Over-sanding is the fastest way to turn a simple refresh into a repair project.
If you want a deeper primer on identifying authentic mid-century wood construction, I keep a handy checklist here: How to Spot Authentic Mid-Century Modern Wood Furniture.
Quick finish check: oil or film?
This matters because oiling is perfect for a worn oil finish, but it is not the magic fix for a hard, intact film finish (like lacquer or varnish).
- Oil finish clues: It looks dry and matte, feels like wood (not plastic), and scratches look like they are in the wood, not in a clear topcoat.
- Film finish clues: It has a more uniform sheen (even if dull), and you can sometimes see wear as cloudy patches or flaking that looks like a layer sitting on top.
If you suspect a film finish, do a small test in a hidden spot first: clean and lightly scuff with a grey pad, then apply a tiny bit of oil and wipe it off. If the oil just sits there and feels slick, or it gets gummy, stop. That piece probably needs a different plan than a simple re-oil.
Should you strip the finish?
Most thrifted teak sideboards do not need stripping. If the piece has a thin, worn oil finish (common), you can usually clean, lightly sand, and re-oil. Consider stripping only if:
- There is a thick, plastic-looking topcoat that is peeling or flaking.
- Someone painted it and you need to remove paint layers.
- There is heavy contamination you cannot clean out (silicone furniture polish can be a culprit).
This guide focuses on the most common, safest approach for vintage teak: refresh and re-oil.
Supplies I actually use
- Vacuum with brush attachment
- Soft microfiber cloths and cotton rags (you will need several)
- Mild dish soap and warm water
- Mineral spirits (for degreasing before oil)
- Grey non-woven abrasive pad (fine) for gentle scuffing
- Sandpaper: 220 grit and 320 grit (skip anything rougher unless you truly know the surface is solid wood)
- Teak oil or Danish oil (choose one approach and stay consistent)
- Nitrile gloves
- Optional: wood filler that matches teak for tiny veneer chips
Safety notes I never skip: Mineral spirits are flammable. Use ventilation, keep away from pilot lights and open flames, and cap the can when you are not actively using it. And oily rags can spontaneously combust if wadded up. After you are done, lay rags flat outside to dry completely, or store them submerged in water in a sealed metal container before disposal. Do not toss oil-soaked rags in a kitchen trash can.
Step 1: Deep clean
1) Dry dust first
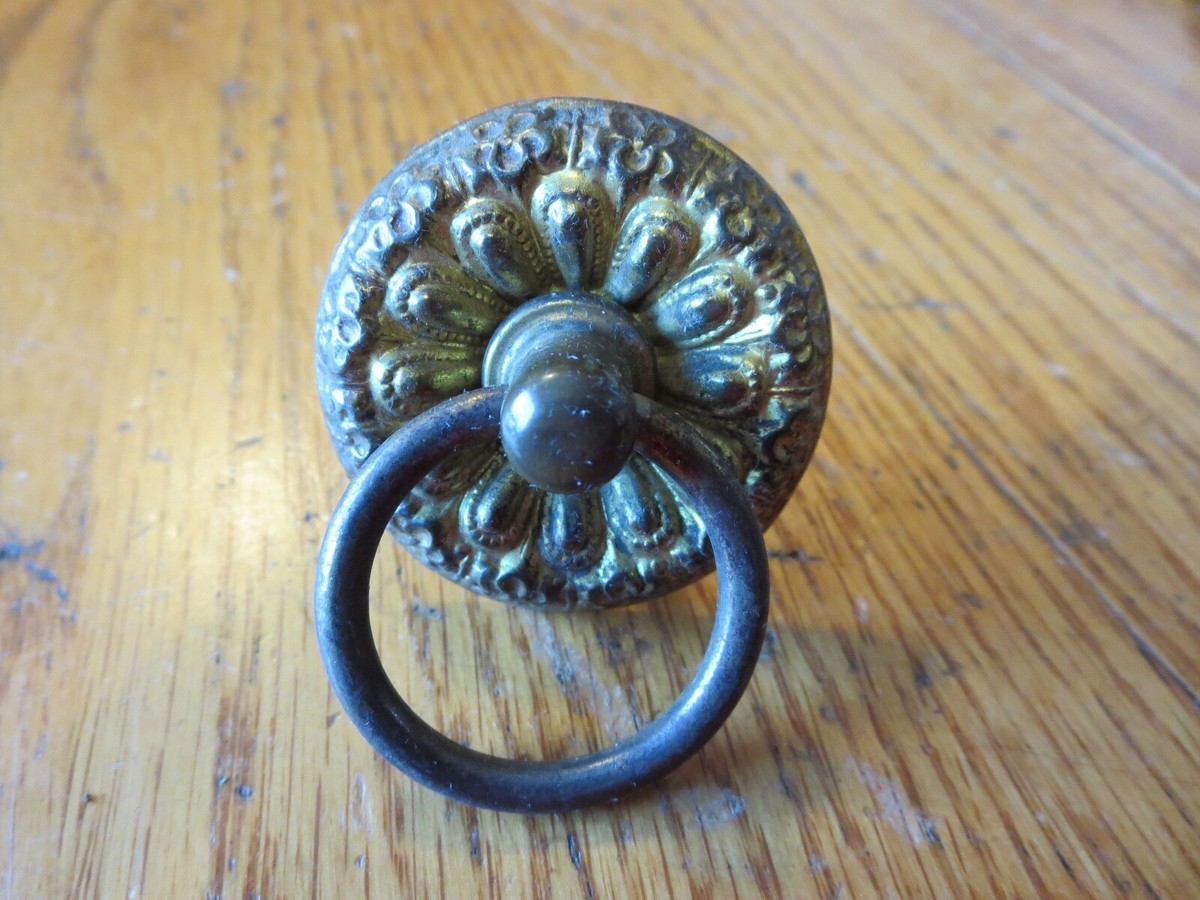
Vacuum the whole sideboard with a brush attachment, especially corners, drawer runners, and around pulls. You want to remove grit so you do not grind it into the surface during wiping.
2) Wash with a barely damp cloth
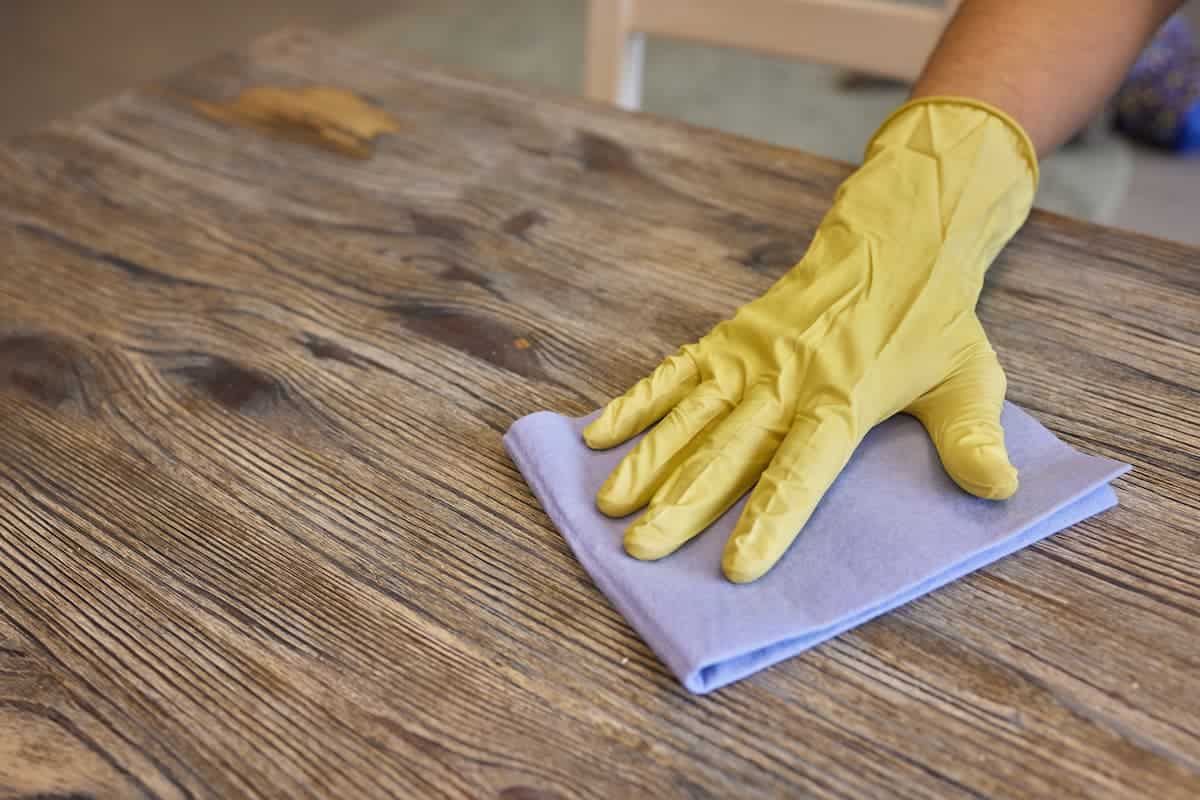
Mix a few drops of dish soap into a bowl of warm water. Dip a cloth, wring it out hard, and wipe one small section at a time. Follow immediately with a dry cloth.
- Avoid flooding seams and edges, where veneer is most vulnerable.
- Sticky spots around pulls usually respond to a second pass rather than more water.
3) Degrease with mineral spirits
Once the piece is dry, wipe surfaces with mineral spirits on a clean rag. This lifts old wax, oils, and grime and helps your new oil go on more evenly. It can also reveal surprise finish issues, so I always test mineral spirits in an inconspicuous area first, especially if I suspect the piece has lacquer or varnish.
Keep it simple: wipe on, wipe off, let it flash dry.
Step 2: Light sanding
This is the part where patience pays off. Your goal is not to erase history. Your goal is to smooth raised grain and give the fresh oil a clean, even surface.
Where to sand
- Top surface: usually the driest, most sun-faded, and most scratched.
- Cabinet fronts: often just need a scuff with a grey pad.
- Edges: be extra gentle. Veneer is thinnest here.
How to sand teak veneer safely
- Start with 220 grit or a grey non-woven pad.
- Sand with the grain using light pressure.
- Do not linger on corners or seams.
- Stop as soon as the surface feels uniformly smooth.
If you hit a spot where the color suddenly looks much lighter, blotchy, or oddly dull, stop. That can be a warning sign you are sanding through the veneer and getting close to the substrate or glue line.
Clean the dust
Vacuum again, then wipe with a clean cloth lightly dampened with mineral spirits. Let it fully dry before oiling.
Step 3: Re-oil
For a straightforward refresh, I like teak oil or Danish oil. Both can work beautifully on mid-century teak. Just know this: “teak oil” is not a standardized formula. Brands vary, and some are more of an oil blend while others behave more like a wiping varnish. Read the label and follow the cure times on the can.
My simple oiling method
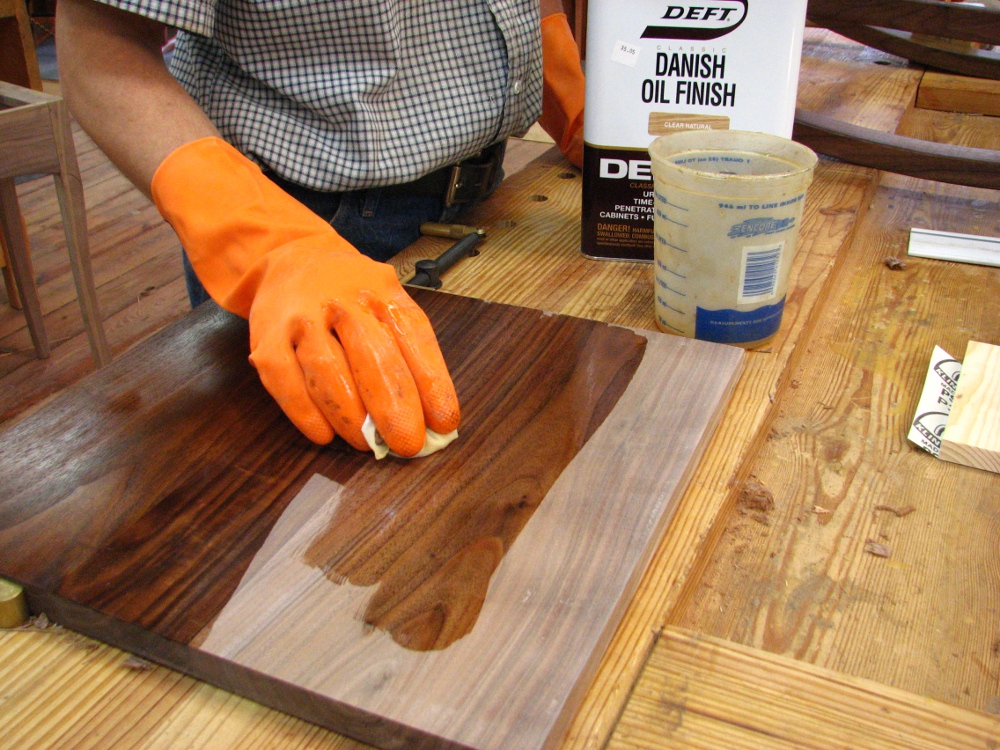
- Apply oil with a clean cloth, working in the direction of the grain.
- Let it soak for about 10 to 15 minutes. Dry areas may drink it up fast.
- Wipe off the excess with a fresh cloth until the surface no longer looks wet.
- Let it cure per the product label, typically overnight.
- Repeat 1 to 2 more times if the wood still looks thirsty.
How many coats?
Most vintage pieces I bring home are happy after 2 coats. If the top was severely dried out or sun-faded, 3 coats can give you that even, mellow sheen. More is not always better. If oil is left sitting on the surface, it can cure tacky and attract dust.
What about steel wool?
Fine steel wool is sometimes recommended, but I generally avoid it on teak case goods because tiny metal fibers can lodge in seams and later rust. A non-woven abrasive pad gives a similar effect with less risk.
Step 4: Fix common surface issues
Water rings
Light water marks often fade after cleaning and oiling. If a ring persists, it usually means the moisture disrupted the old finish. In that case, a gentle scuff sand (220 grit) across the whole top, then re-oil, is the most even-looking fix. Spot-fixing just the ring can create a halo.
Sun fade
Teak naturally shifts color with light exposure. Oil will usually reduce the contrast, but it may not fully match, and sometimes it never will without toning or dye. I consider that normal patina, not failure.
Small scratches
- Shallow scratches: often disappear after oiling.
- Medium scratches: a light sand with the grain, then oil, usually blends them.
- Deep scratches or chips: consider a tiny amount of color-matched filler, then sand smooth and oil the whole panel for consistency.
Step 5: Keep it looking good
- Use coasters and felt pads under lamps, ceramics, and planters.
- Avoid silicone spray polishes. They can cause blotchy refinishing headaches later.
- Dust dry with a microfiber cloth instead of wet wipes.
- Re-oil lightly when the wood looks dry, often once or twice a year depending on sun and humidity.
If you are styling your newly revived sideboard, I have a full guide to keeping it balanced and era-friendly here: How to Style a Mid-Century Credenza With Vintage Decor.
Common mistakes
- Over-sanding veneer: If you are tempted to start with 80 or 120 grit, pause. Teak veneer is thin. Start fine, go slow.
- Skipping degreasing: Old wax and polish can make oil look patchy. Mineral spirits help, and a quick test spot keeps you out of trouble.
- Leaving oil on the surface: Oil that is not wiped off can stay sticky. Wipe until the surface no longer looks wet.
- Rushing cure time: Let the oil harden before loading the top with ceramics and stacks of books.
When to call a pro
I love a good DIY revival, but there are a few situations where I tap the brakes:
- Lifting veneer along long edges or big bubbles on the top
- Black stains that appear to be deep water damage
- Structural issues like a sagging base, cracked joints, or doors that no longer align
If your thrift find has bigger issues beyond the finish, it helps to evaluate the bones before you invest hours into cosmetics. This quick read can save your weekend: 5 Structural Red Flags to Avoid When Thrifting Mid-Century Wooden Furniture.
Quick FAQ
Can I use olive oil or coconut oil on teak?
I would not. Cooking oils can go rancid and leave a gummy surface that attracts dust. Use a finishing oil made for wood, and wipe off the excess.
Do I need to seal teak after oiling?
For most indoor sideboards, an oil finish is enough if you use coasters and avoid letting water sit. If you want more protection, that becomes a different project (and usually a different finish system) than a simple re-oil.
How do I know if I used too much oil?
If the surface still feels tacky hours later, you likely left too much oil on top. Wipe again with a clean cloth. If it is still sticky the next day, a light wipe with mineral spirits can help remove the uncured film. Let it dry, then re-oil sparingly.
The payoff
There is a particular moment in teak restoration that never gets old. You wipe on that first coat of oil and the grain wakes up like it has been holding its breath for decades. Suddenly the piece looks less like a thrift store orphan and more like what it always was: a warm, practical workhorse designed for everyday life.
That glow is the reason I keep rescuing these sideboards. Not because they have to be perfect, but because they deserve to be used again.